It wasn’t long ago I would laugh at the idea of trying to Hyperlapse on Android or iOS devices. But thanks to competition between IOS and Android, they’ve pushed each other to create better and better cameras resulting in amazing quality and making getting started shooting hyperlapses easier than ever!
The Best Tips For Hyperlapse On Android Right Now
Nowadays virtually all Android phones have a hyperlapse video feature. But keep in mind, Android is an operating software that is on a lot of different phones and phone manufacturers like Samsung, Sony, Kyocera, Google Etc…
So things may be in slightly different locations from manufacturer to manufacturer but the gist is the same.
SAMSUNG USERS: 15 Easy Things to Know for Best Samsung Hyperlapse Results.
After reading this you’ll learn how to get impressive results shooting a hyperlapse on Android devices.
If you want to level up your time lapse and hyperlapse game so you can charge more money and save hours of headaches and frustration. I have made a course for you that over 400 students have enrolled in!
I’m confident Hyperflow Masterclass will get you from zero to shooting like a pro or I’ll give you your money back!
Check out the course here to see if it’s right for you.
What is a Hyperlapse?
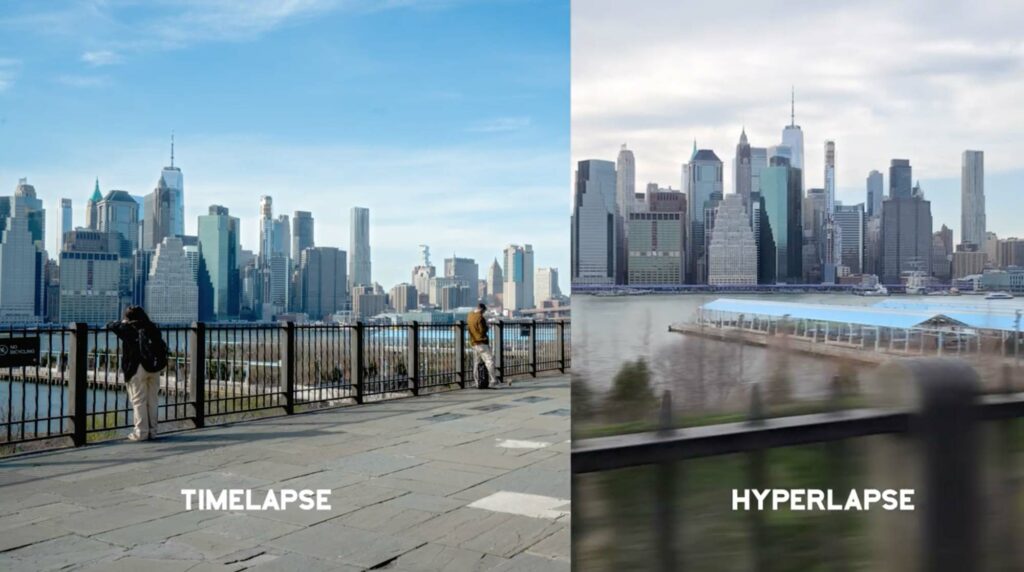
Simply put, a Hyperlapse IS a time lapse where the camera moves large distances between each shot.
A time lapse is stationary, meaning it stays still. Doesn’t move. So the main difference is simply that a hyperlapse is a moving time lapse. That’s it.
But if you are curious about all the technical details as well here’s a whole article going into depth on hyperlapse vs time lapse.
Why Use a Hyperlapse?

I always find it helpful to remember the actual point of a hyperlapse or time lapse. The goal to see something changing. Think colors of a sunset, busy energy, the moon, a rising tide etc…
Whether you are shooting a hyperlapse on Android, Apple, or DSLR doesn’t matter. The goal is the same. To show something moving and to bring your audience into the scene.
That is what hyperlapses do so well.
Android Hyperlapse Settings

Now let’s take a look at all the Android hyperlapse settings, learn what they mean, and how to maximize them to get the most out of our shots.
Again I am using the Samsung Flip Camera, so some of these might be in slightly different spots. But the idea will be the same for all hyperlapse on androids.
When looking at the Samsung camera app you’ll notice it says portrait, photo, video, and more.
To access the hyperlapse mode we want to click more. Swiping right to find the “hyperlapse” feature shown in the photo above.
When we click hyperlapse, we can see we have 6 icons on the top that we can adjust.
Hyperlapse on Android: Gear/Settings

Top left is where we manage the settings. It’s the gear icon Sadly, in this particular device you don’t get too many options as a lot of things are grayed out but I do like the grid lines and the location tags.
Grid is useful for composition rules like the rule of thirds and the location settings are extremely helpful while traveling in case you don’t remember a location and want to look it up.
Hyperlapse on Android: Flash
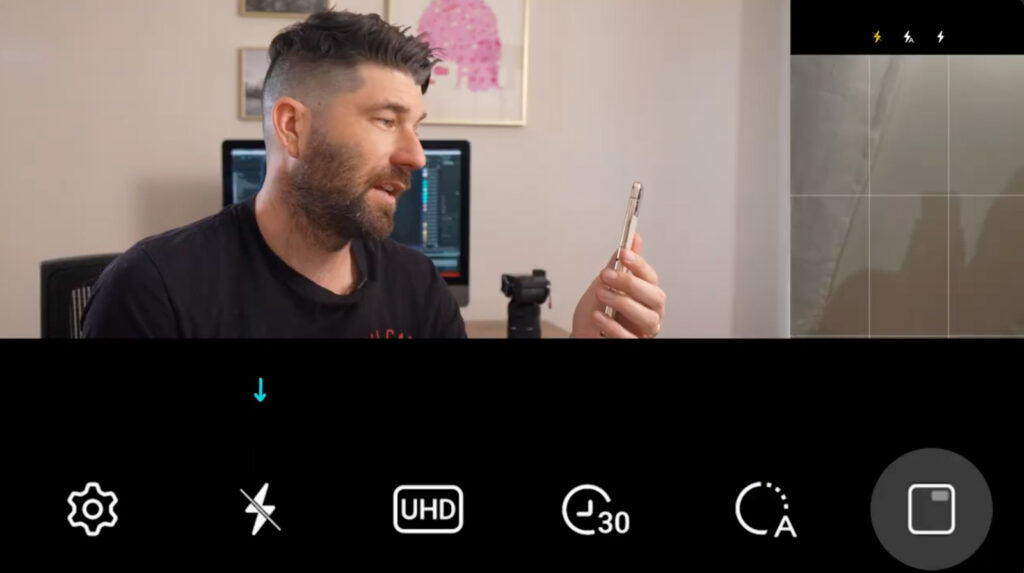
Next is a flash icon which I don’t ever recommend using.
Hyperlapse on Android: Format/Image Size
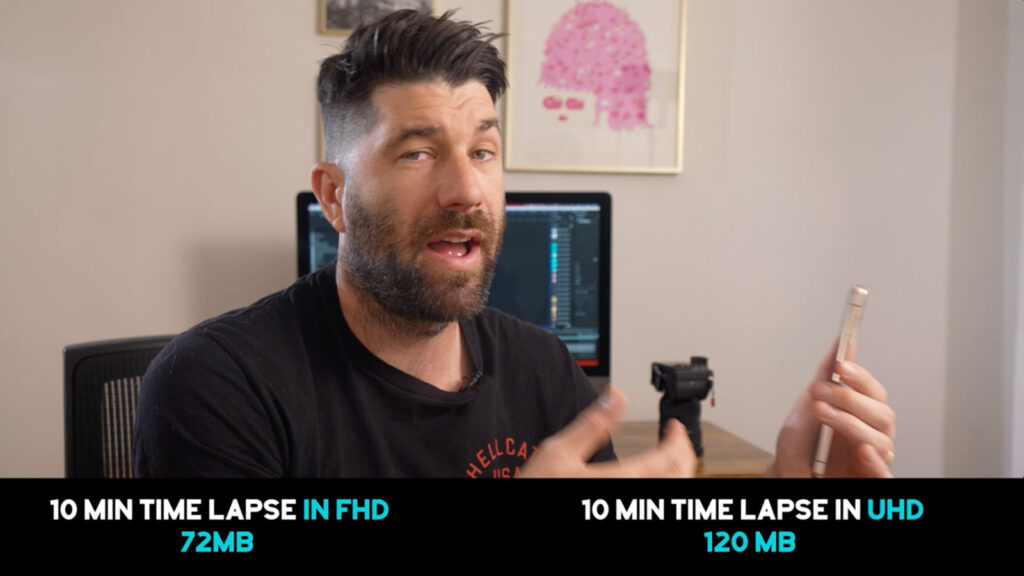
The third icon is FHD or UHD. FHD means it will record in full high definition which is 1080 and UHD is ultra meaning it will record in 4k.
You may see options like 4k, 2.7k etc… Just know this is referring to the size of the video file.
I did a hyperlapse on Android using the Samsung Flip for 10 minutes and it came out to 72mb on FHD. The same hyperlapse on UHD came in at 120mb. So ultra-high definition will take up more space, but it’s still pretty small.
Android on Hyperlapse: Timer

The fourth icon is a bit odd looking but it’s the timer settings of the app.
It gives us presets for time allowing us to choose anywhere from infinite (meaning you stop it when you want) all the way to 300 minutes (5 hours.)
All handy presets.
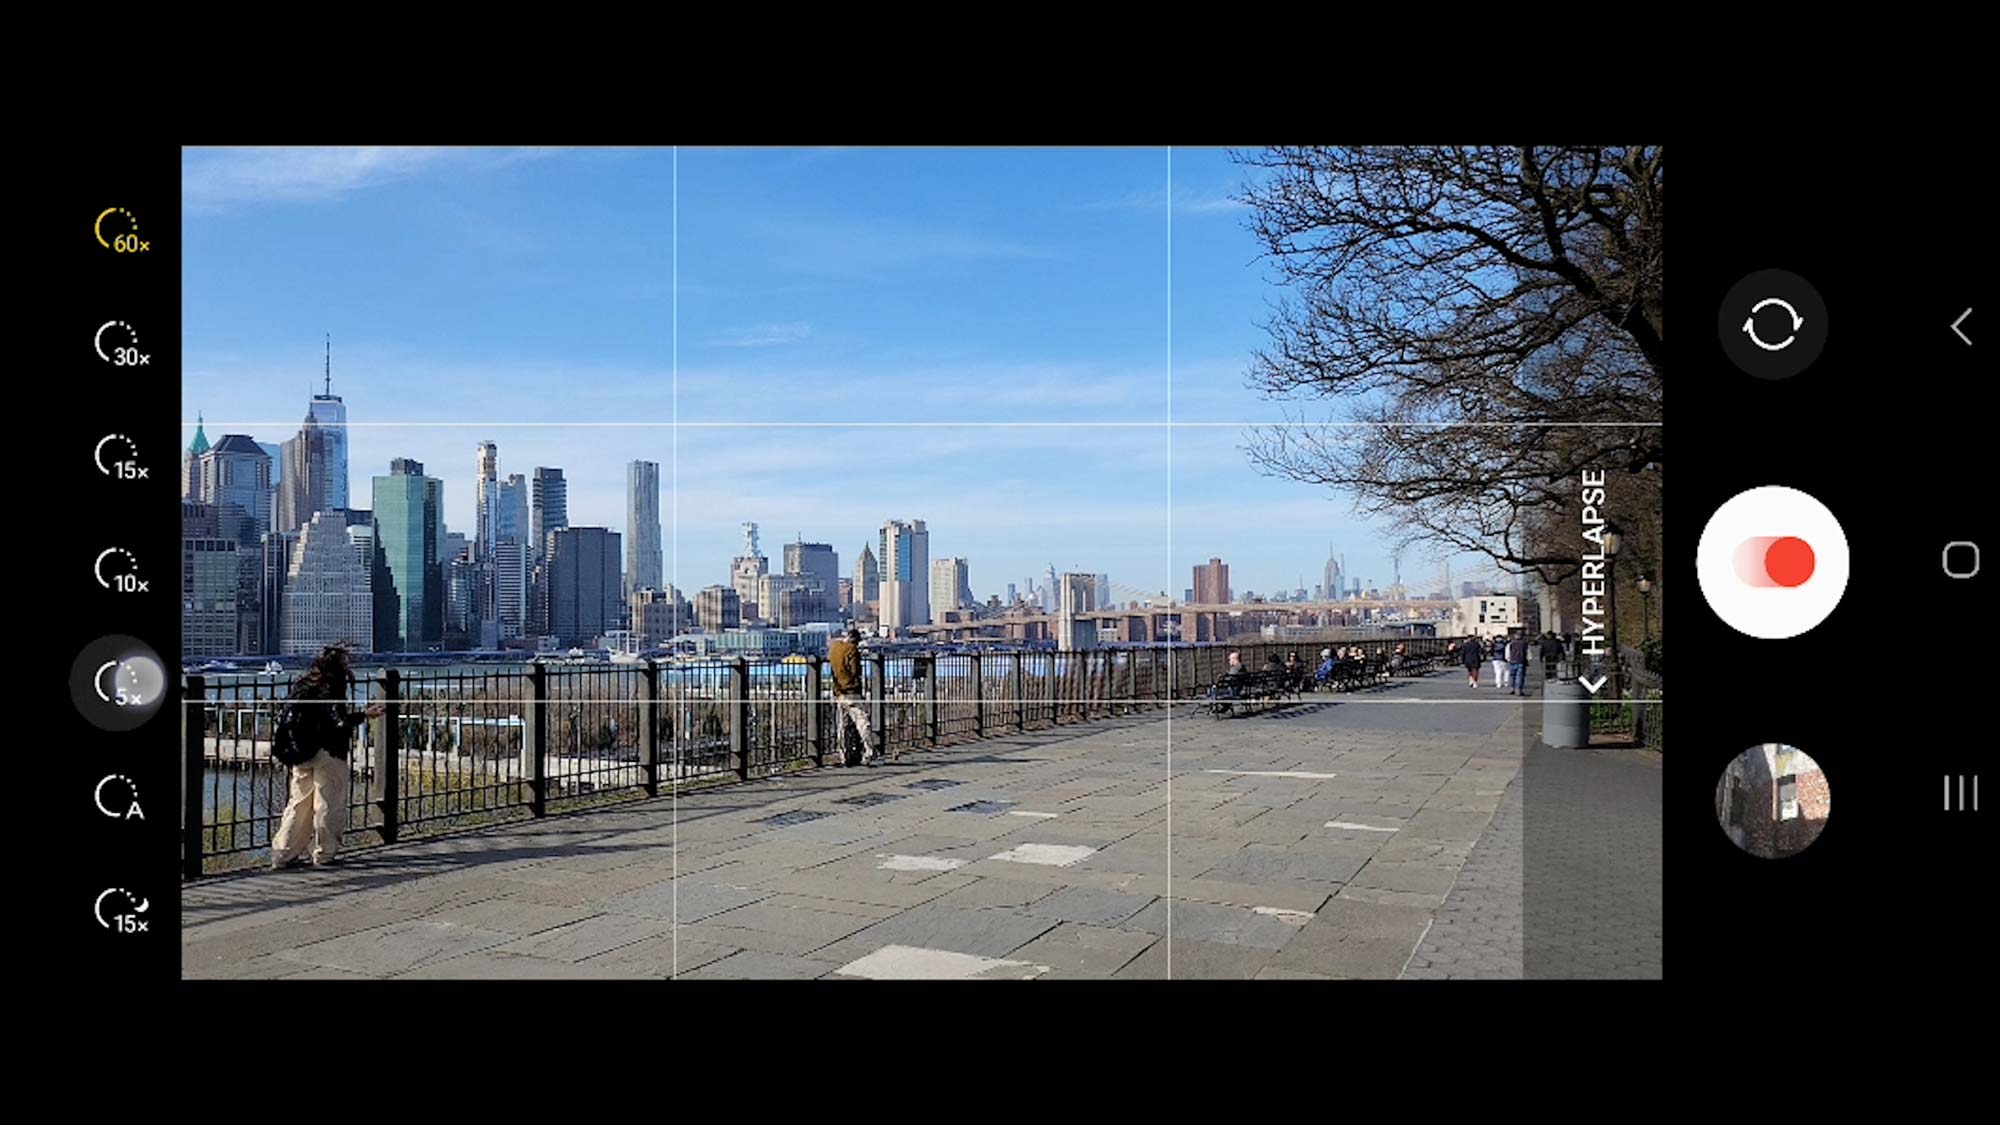
Android Hyperlapse Settings: Interval

This next one is an INTERVAL. Probably the single most important button to understand.
An interval is the amount of time between the start of taking each photo. Typically we talk about it in terms of seconds, minutes, hours, days, etc…
I like that the Android hyperlapse feature tries to give us some presets. The only problem is when testing them out I didn’t find them to be accurate.
But let’s quickly touch them all and what they do.
Android Interval Presets
The Android Hyperlapse app comes preinstalled with Automatic, 5x 10x 15x 45x, and 60x, even some having moon icons. To indicate that it’s preset for the night.
5x converts to 1/6th of a second. Which is pointless in my opinion. 10x converts to 1/3rd of a second, again way too slow to use. 15x converts to one photo every half second.
I believe all three of those are too slow to be considered.
I believe 30x (which converts to a one-second interval) and 60x ( a two-second interval) are the only two worth using.
If you are finding intervals confusing, or just want an in-depth explanation of what they are and how to figure out the best ones (especially helpful for DSLR shooters) here’s a guide on How to Choose the Best Time-Lapse Interval (For Any Scene).
Hyperlapse on Android Features: Screen Preview

Lastly is the cover screen preview on or off, allowing you to see what’s on the other side. Which is only useful if recording a timelapse of yourself.
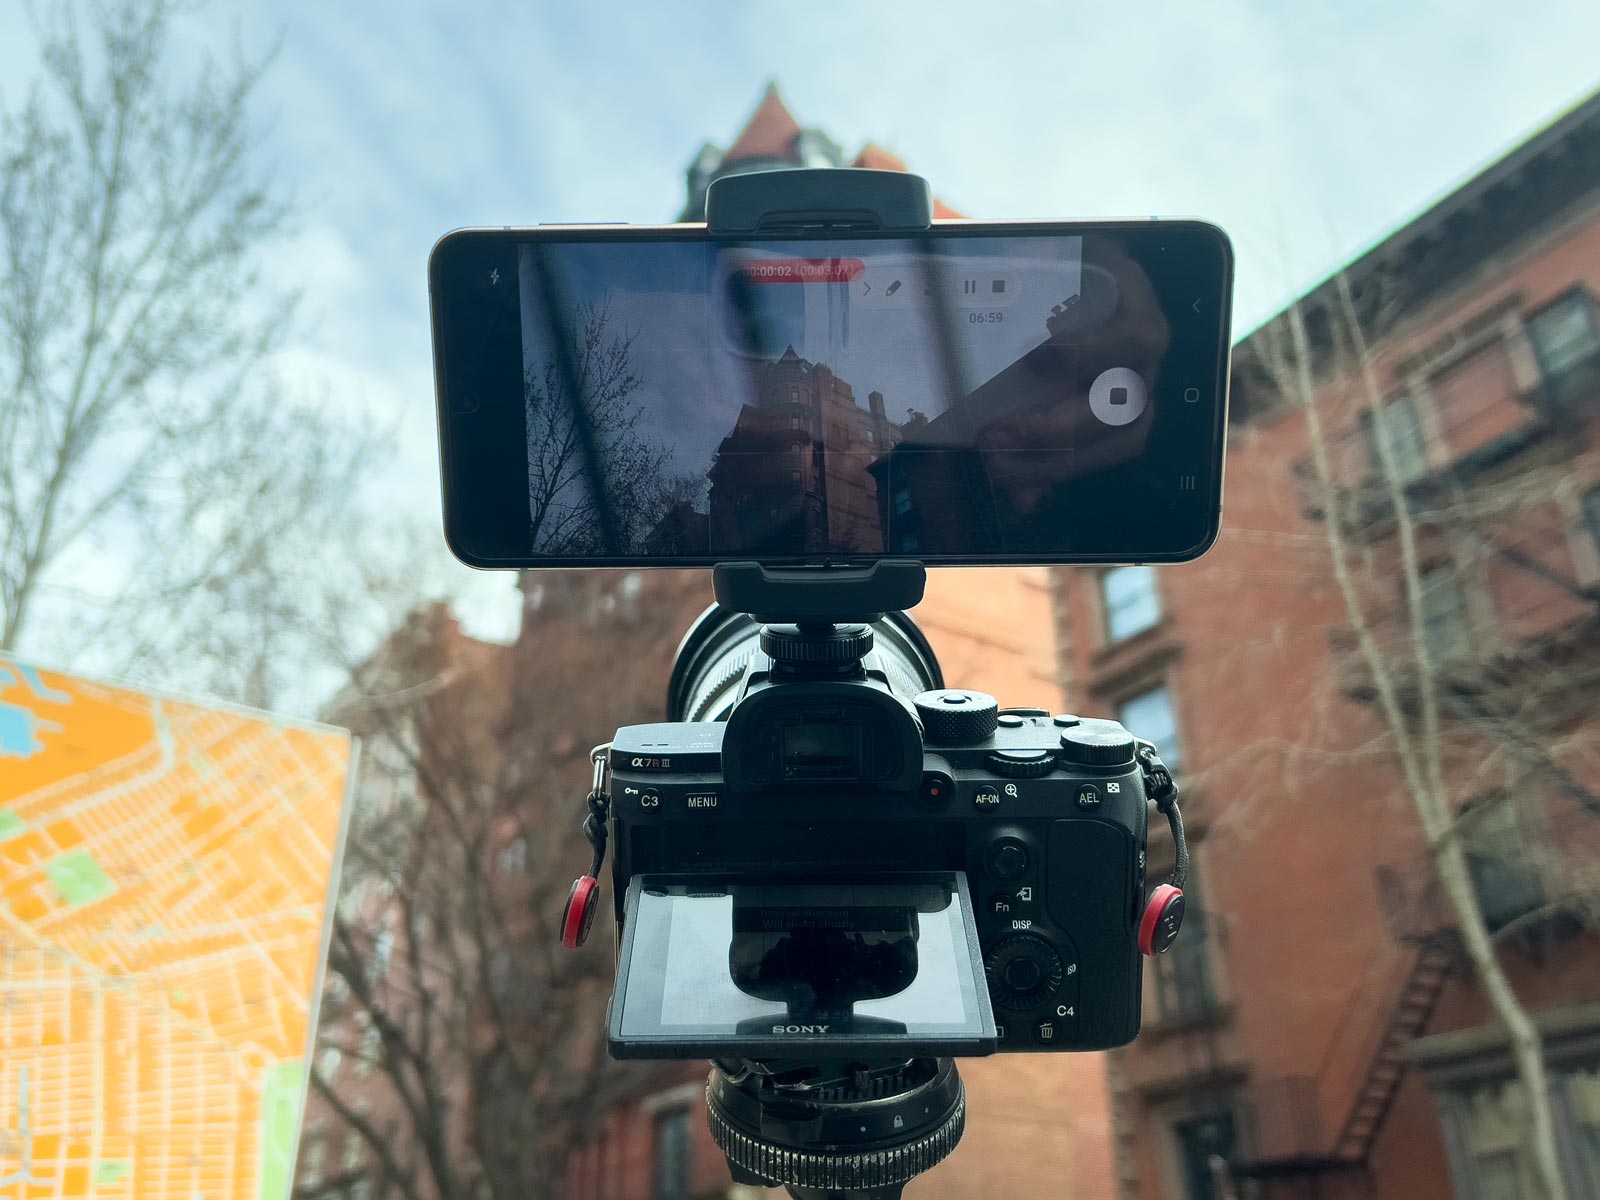
Before shooting any time lapse, you want to SET THE EXPOSURE and focus.
Do this by simply, tapping on the screen and pressing the lock button, and adjusting the exposure.
If you don’t do this, you might ruin the shot by getting flicker, or the camera changing focus on you.
What Makes a Good Hyperlapse Subject.
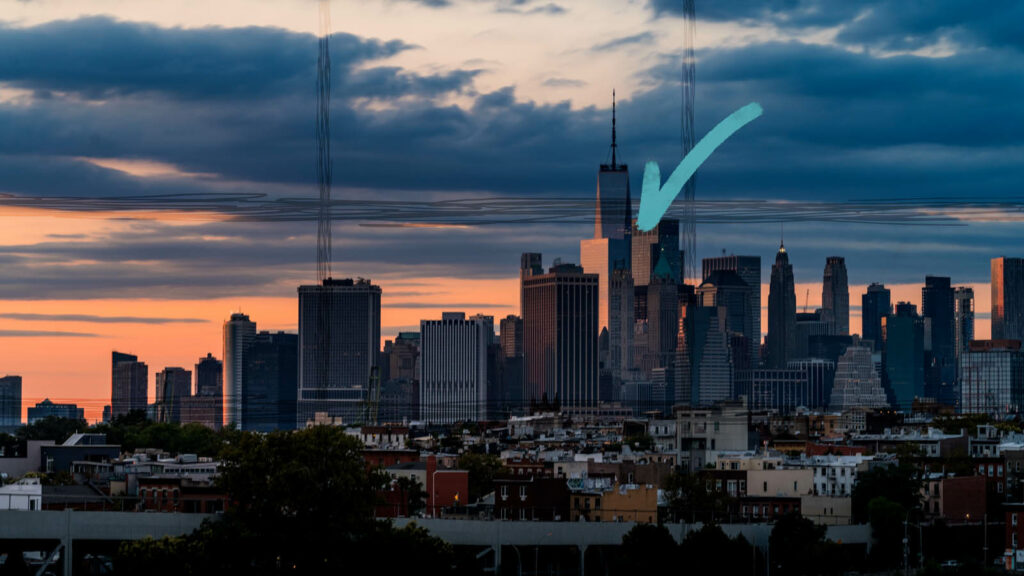
Anything that changes makes a good hyperlapse subject but here are some great jumping-off points.
Tips for Crowds/People

People making fascinating subjects for time lapse and hyperlapse. My favorite settings for the Android Hyperlapse app is always either 1 or two seconds which is 30x or 60x.
I’d recommend using 30x or a 1 second interval on shorter walks, anything that’s 500 yards or shorter.
For longer walks, it might get boring unless you use a longer interval like 60x or 2 seconds.
Tips for Car Traffic

One of my favorites is cars and traffic. An easy way to get amazing results from your Android hyperlapses are to just set your phone in your car and drive.
Remember if the camera is moving it’s a hyperlapse. If it’s not it’s a time lapse. Since your car is moving that’s a really cool hyperlapse.
I recommend again either 30x if the traffic flow is nice and steady, or 60x if there’s a bit of traffic and everyone is going slower.
Tips for Buildings

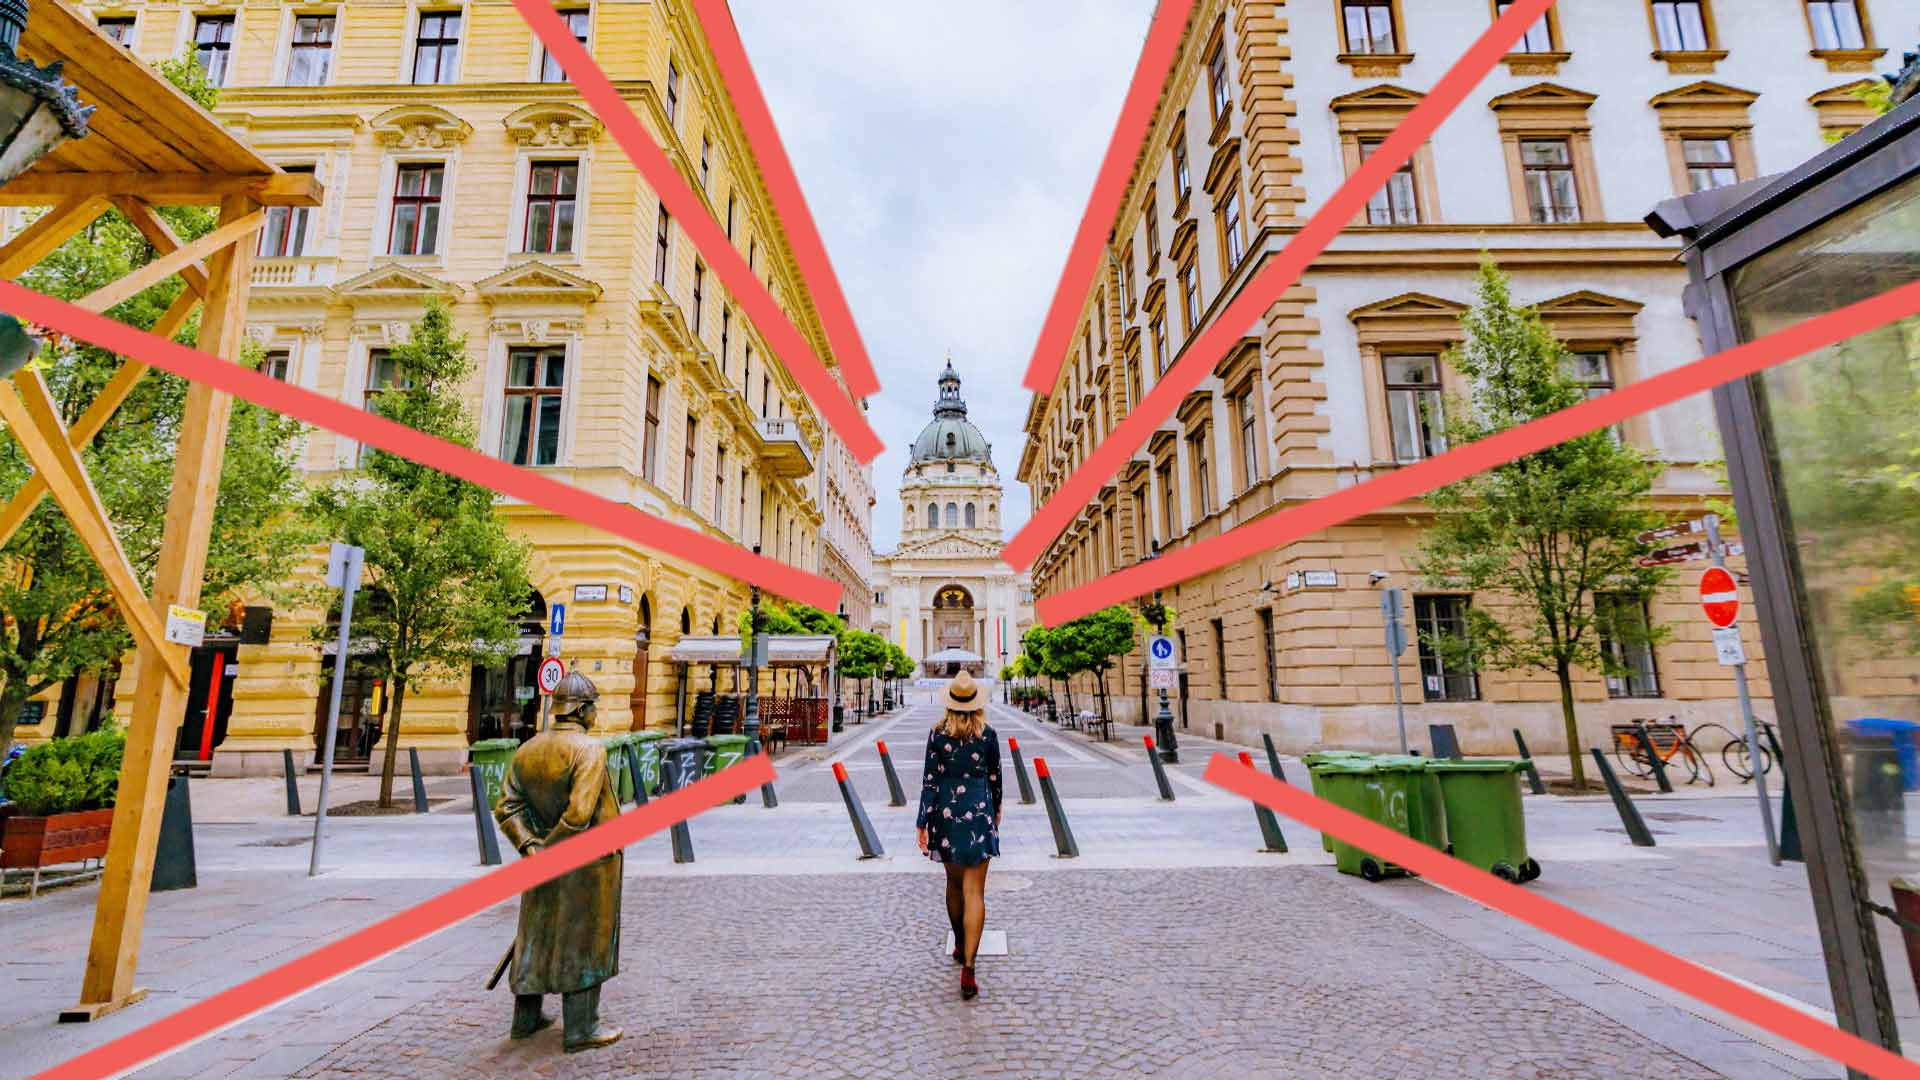
Personally, I think hyperlapses work best on buildings. Either going towards them or away from them. The example above is of me going towards the Brooklyn Bridge. This would be what I recommend trying out if you are a complete beginner as it’s the easiest one to do.
My other favorite use is orbiting them from left to right or vice versa.
In either case, I’d use the 30x 45x, or 60x feature. Whatever can get you in that 1-2 second interval range.
Tips for Sunrises or Sunsets

Another classic time lapse and hyperlapse is sunsets. When doing a time lapse I recommend shooting for two hours to capture the entirety of a sun. But that’s with a DSLR.
Did you know a sunset produces vivid colors for just 15 minutes. Knowing that you can wait until it starts to begin to change colors to begin shooting.
Put your interval at 30x and shoot for like 7-8 minutes.
Well, those are all my tips for getting the most out of your Android Hyperlapse functionality on your Android phone. Hope you found that helpful. For actual video demonstrations of everything talked about be sure to check out this video.
If you want to level up your time lapse and hyperlapse game so you can charge more money and save hours of headaches and frustration. I have made a course for you that over 400 students have enrolled in!
I’m confident Hyperflow Masterclass will get you from zero to shooting like a pro or I’ll give you your money back!
Check out the course here to see if it’s right for you.
Frequently Asked Questions Regarding Android Hyperlapse Features
Yes it does, Accessing it might be different on each phone, you just need to access it through the more, and click Hyperlapse
You go into your camera app, select more, then hyperlapse, choose if you want FHD or UHD, how long you want to shoot, and an interval to shoot at. Press record, sit back relax and enjoy.
Yes, same as above, go into your camera app, select more, then hyperlapse, choose if you want FHD or UHD, how long you want to shoot, and an interval to shoot at. Press record, sit back relax and enjoy.
You go into your camera app, select more, then hyperlapse, choose if you want FHD or UHD, how long you want to shoot, and an interval to shoot at. Press record, do your camera movement, and enjoy.
They absolutely can. If you are worried about storage you should either shoot in FHD mode, which is a 1920×1080 file and much smaller than UHD files. You can also upgrade your SD Card, or invest in External hard drives as well.
No, not unless you recorded a normal video and sped that up. A time lapse is made up of photos so unless you recorded the data there is nothing for it to “revert” back to.
That is a great question with a HUGE degree of change depending on a wide variety of factors. But on a Samsung phone number in front of the x refers to seconds. So 5x means it takes 5 seconds to make 1 second of video. Or 50 seconds to record 10 seconds of video.
10x means 10 seconds to make 1 second of video. 60x Means it takes 60 seconds to record 1 second of video or basically a 2-second interval.

