Ever seen those viral iPhone Hyperlapse videos AKA ‘sped-up videos’ on TikTok or Instagram and wondered how to get them to look as good on your own? Well, this guide is going to teach you focusing on how to get amazing iPhone Hyperlapse and even include a six-minute video. Or continue reading.
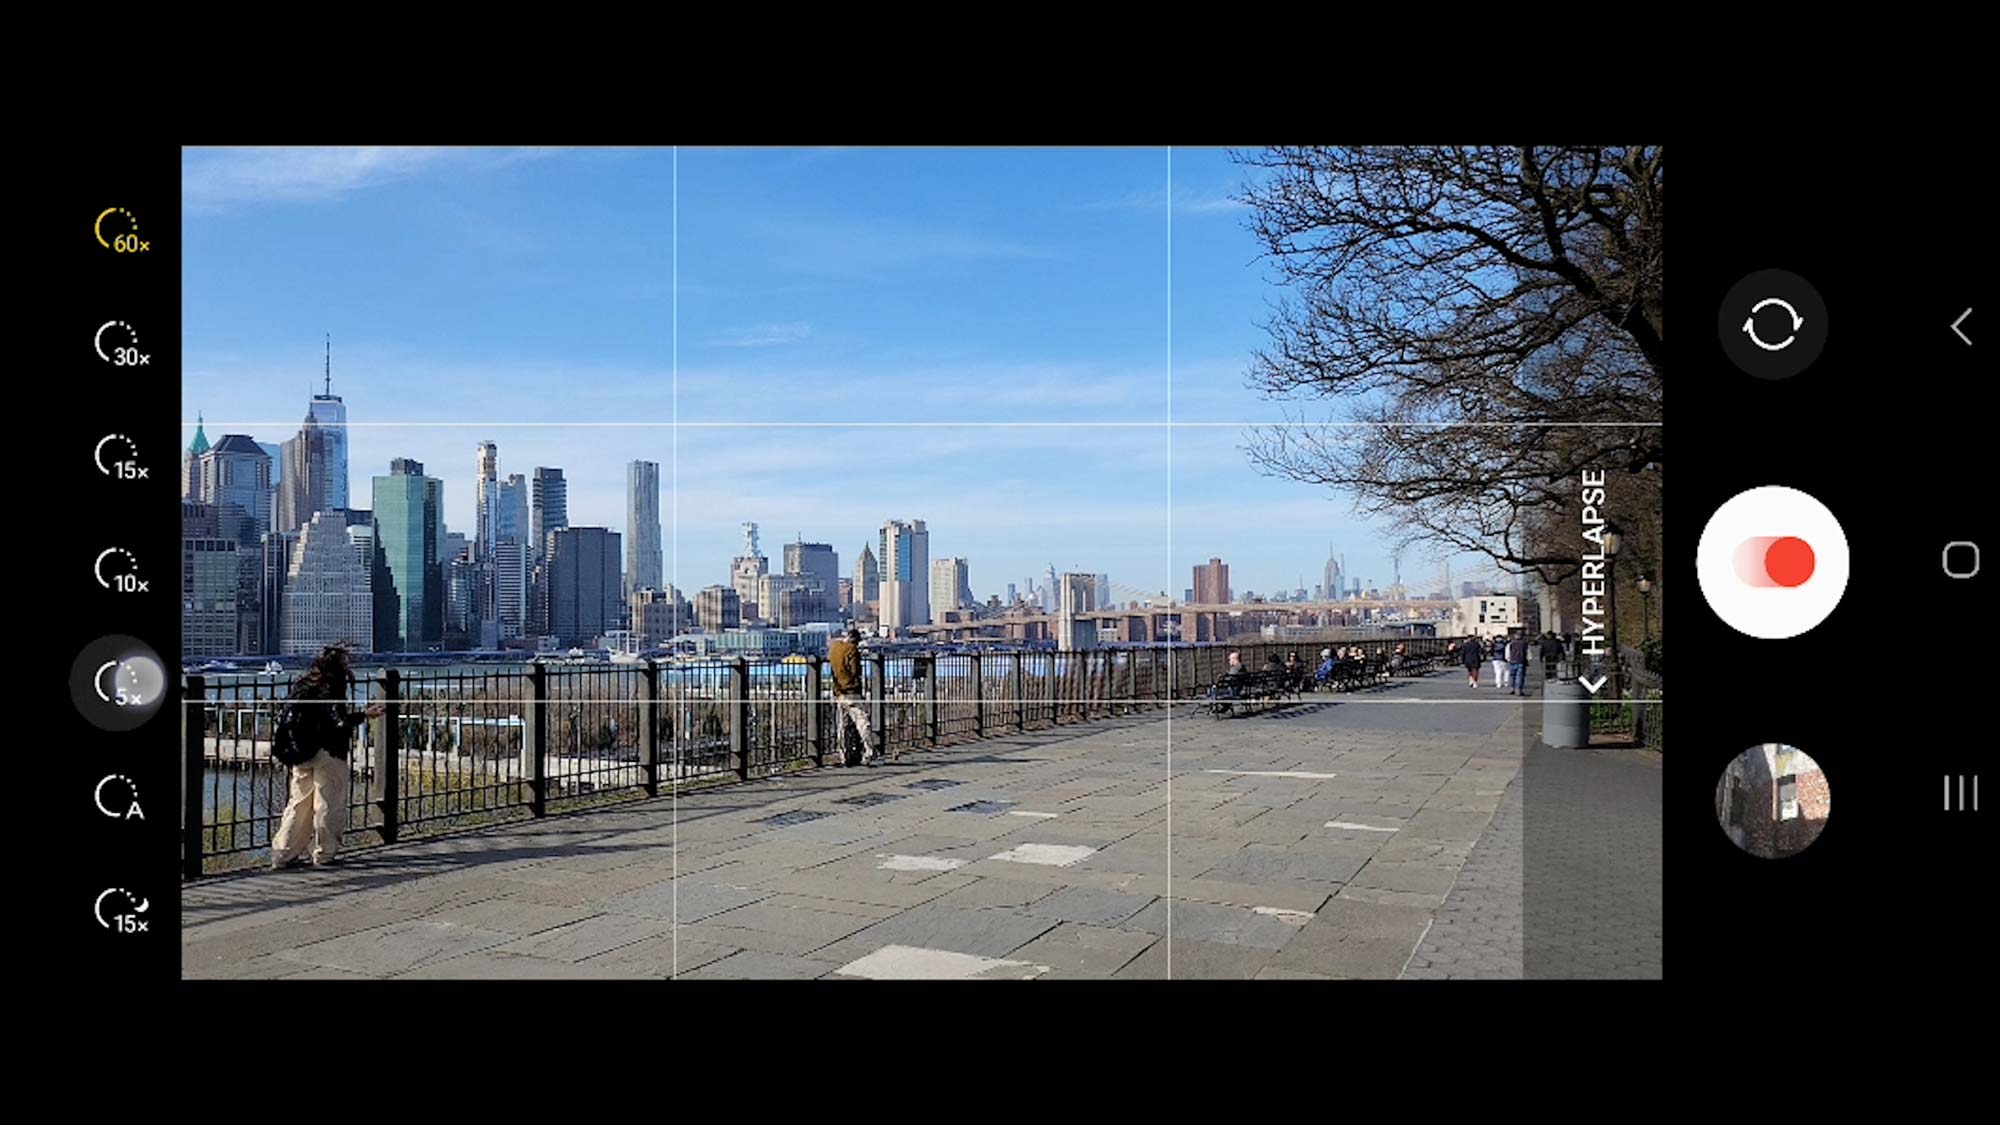
For Android Hyperlapse users check out this guide.
If you want to level up your time lapse and hyperlapse game so you can charge more money and save hours of headaches and frustration. I have made a course for you that over 400 students have enrolled in!
I’m confident Hyperflow Masterclass will get you from zero to shooting like a pro or I’ll give you your money back!
Check out the course here to see if it’s right for you.

I got started shooting hyperlapses in 2008 and it’s amazing how much camera and stabilization technology has come. It’s gotten so good that sometimes I can’t even tell the difference between an iPhone hyperlapse vs my $10,000 camera setup for professional work.
In this post I’ll explain not only how to shoot an iPhone hyperlapse easily and like a pro. But give you some simple tips that as soon as you read you can apply that will not only improve your hyperlapses, but also you photography and videography as well.
Fun Fact: The goal of any Hyperlapse is to create energy in your edit and show how a scene changes over time AND bring the viewer INTO the scene.
LEARN: What is Hyperlapse? (+ Learn How to Make Amazing Ones)
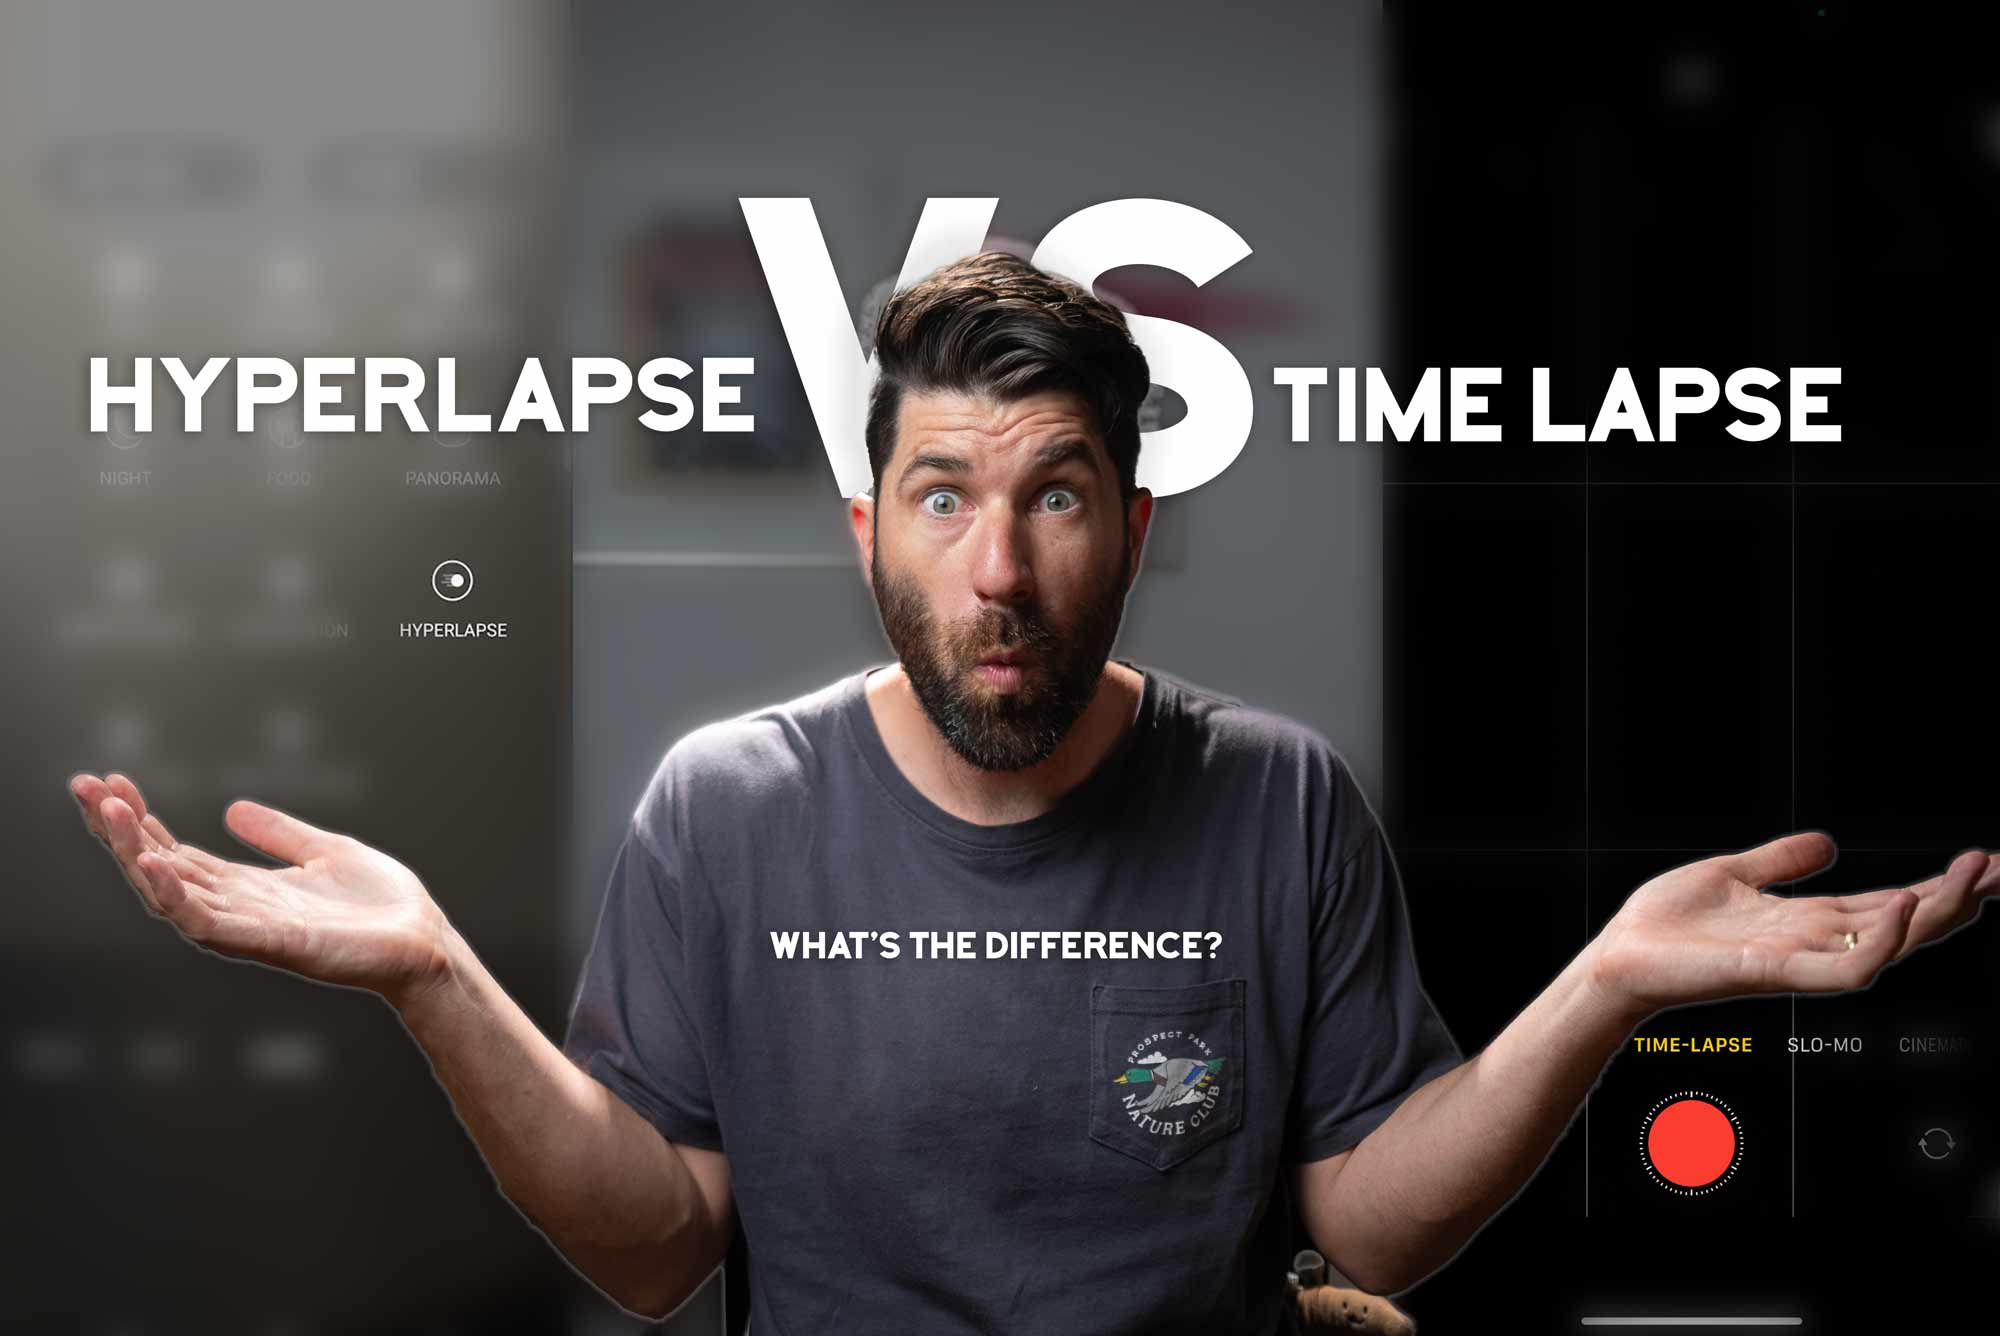
What is an iPhone Hyperlapse?

An iPhone Hyperlapse is a time lapse taken from an iPhone where the iPhone is moving between every shot.
The movement is what gives it the name “hyper.” If the camera didn’t move we would just call it a time lapse.
What Makes a Good Subject for an iPhone Hyperlapse
Choosing the subject is THE FOUNDATION on how to shoot a good timelapse video that people will actually want to watch.
Without a good subject, the viewer won’t know where to look, or won’t really care.
Anything that shows movement, will make a good subject.
For example clouds, the sun, the moon, stars, the ocean, tide rising or falling, traffic, snow accumulating/melting, flowers blooming etc would all be good subjects because they have movement and change over time.
The next fundamental tip on how to shoot a time-lapse is composition.
Plan the Composition of Your Time lapse Video
Composition is a fancy word that basically means to organize the scene your camera sees in a pleasing way for the viewer. The most common example is the rule of thirds.
The rule of thirds divides your camera screen into nine squares. The rule simply means that you can make an image more interesting by placing an object on one of the intersecting lines of those nine squares.
So a simple tip to improve your time-lapse is to place a subject on one of the intersecting lines.
The rule of thirds also has two horizontal, or HORIZON lines. This is extremely helpful for keeping things in the same spot. Or we can use a small sticker.
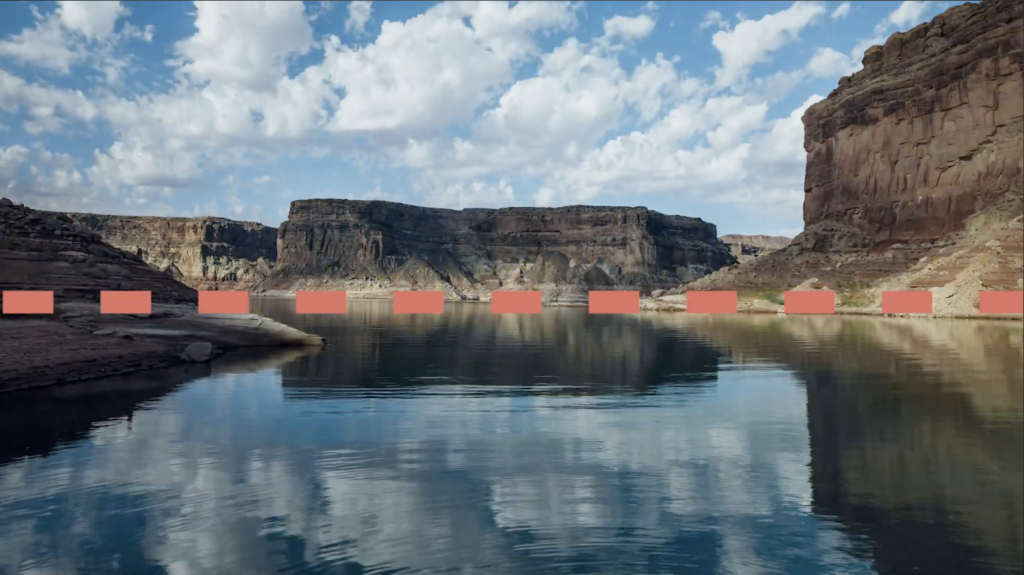
When the sky is really interesting, use the horizon line to frame your shot and allow the sky to take up 2/3rds of your screen. This will almost always be the case for stars, aurora borealis, and dramatic sunsets with clouds.
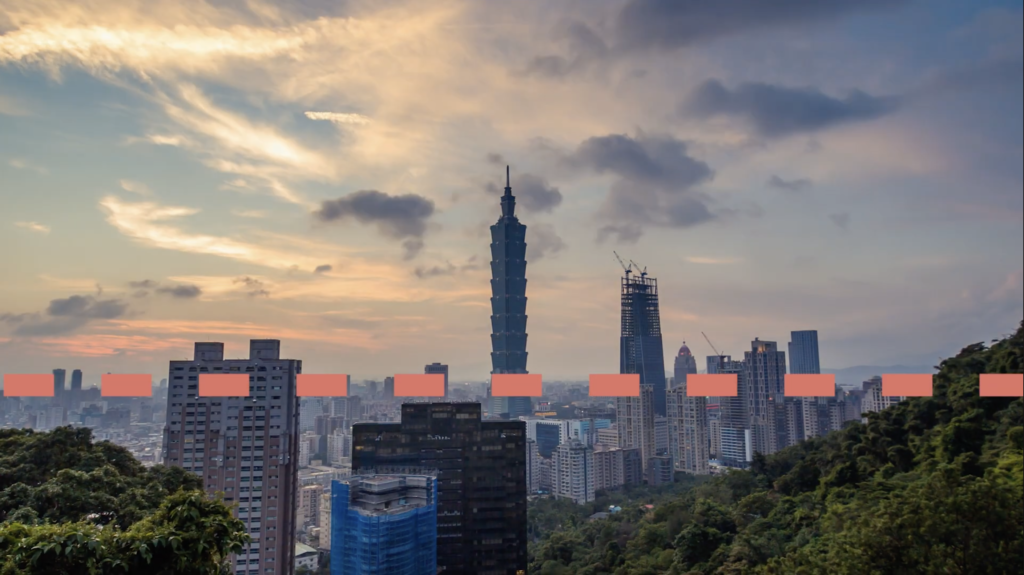
An interesting sky, so I composed it to allow it to take up 2/3rds of the horizon.
If the sky is cloudless or relatively uninteresting, don’t let the sky take up that much of the screen.
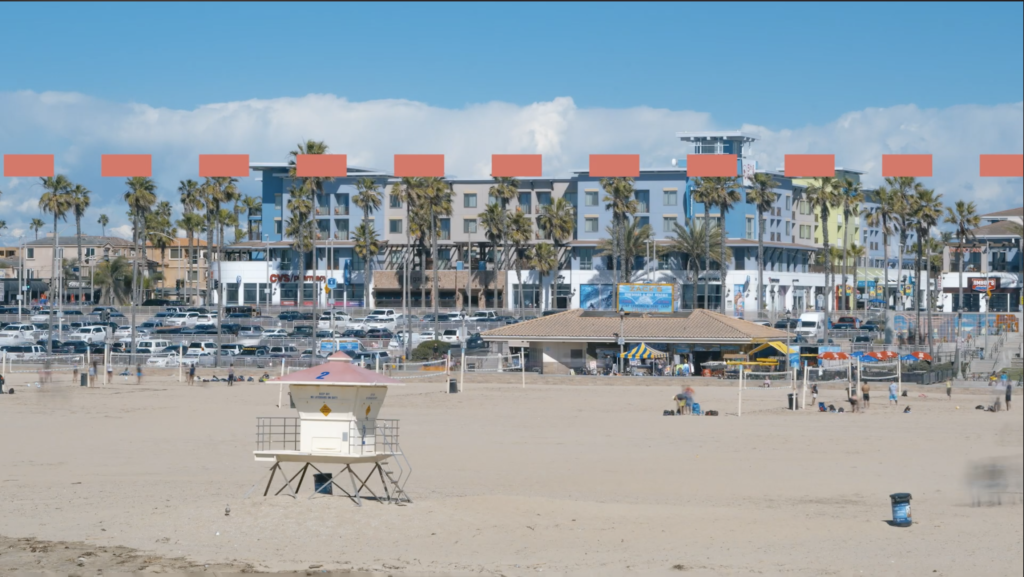
A much less interesting sky so it’s composed to take up the top 1/3rd of the horizon.
Another fundamental of composition that really helps is symmetry.
Think Wes Anderson when you’re finding your scenes. If you can find things that are symmetrical line them up because there is just something so satisfying about finding repeating lines.
Reflections make up some of the composition elements.
Great, so now that we’ve tackled the importance of choosing a subject with movement, and composition. It’s time to tackle one of the most important, and difficult decisions you will need to make.
Choose the Best Frame Rate for Your Time lapse Video
If you are using your iPhone’s native time lapse app, you don’t need to do this step. But again it’s great to understand because on all other apps and devices, you will need to choose.
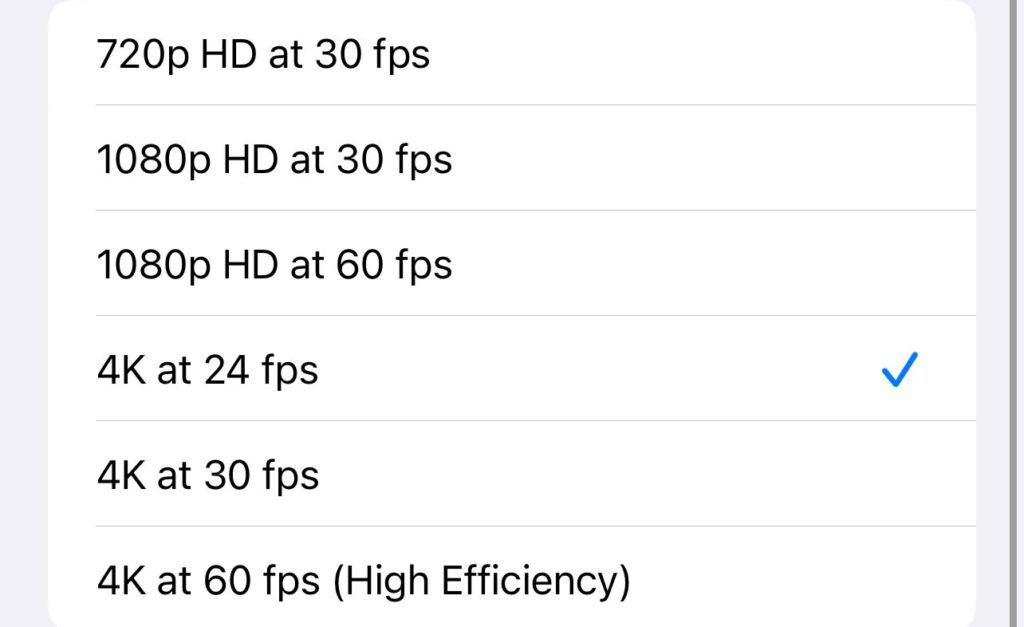
A frame rate refers to the number of frames that get played per second. It will be referred to as Frames Per Second, or FPS (see above image for examples) for short.
The most common options are 23.976 frames per second or 24fps, 29.97 frames per second or 30fps or even 60fps. If you want to know more about frame rates read more here.
A good and simple rule of thumb is to mimic what our eyes see. Which is 24fps. This will also help you figure out how many photos you need to take which will be handy for the next tip.
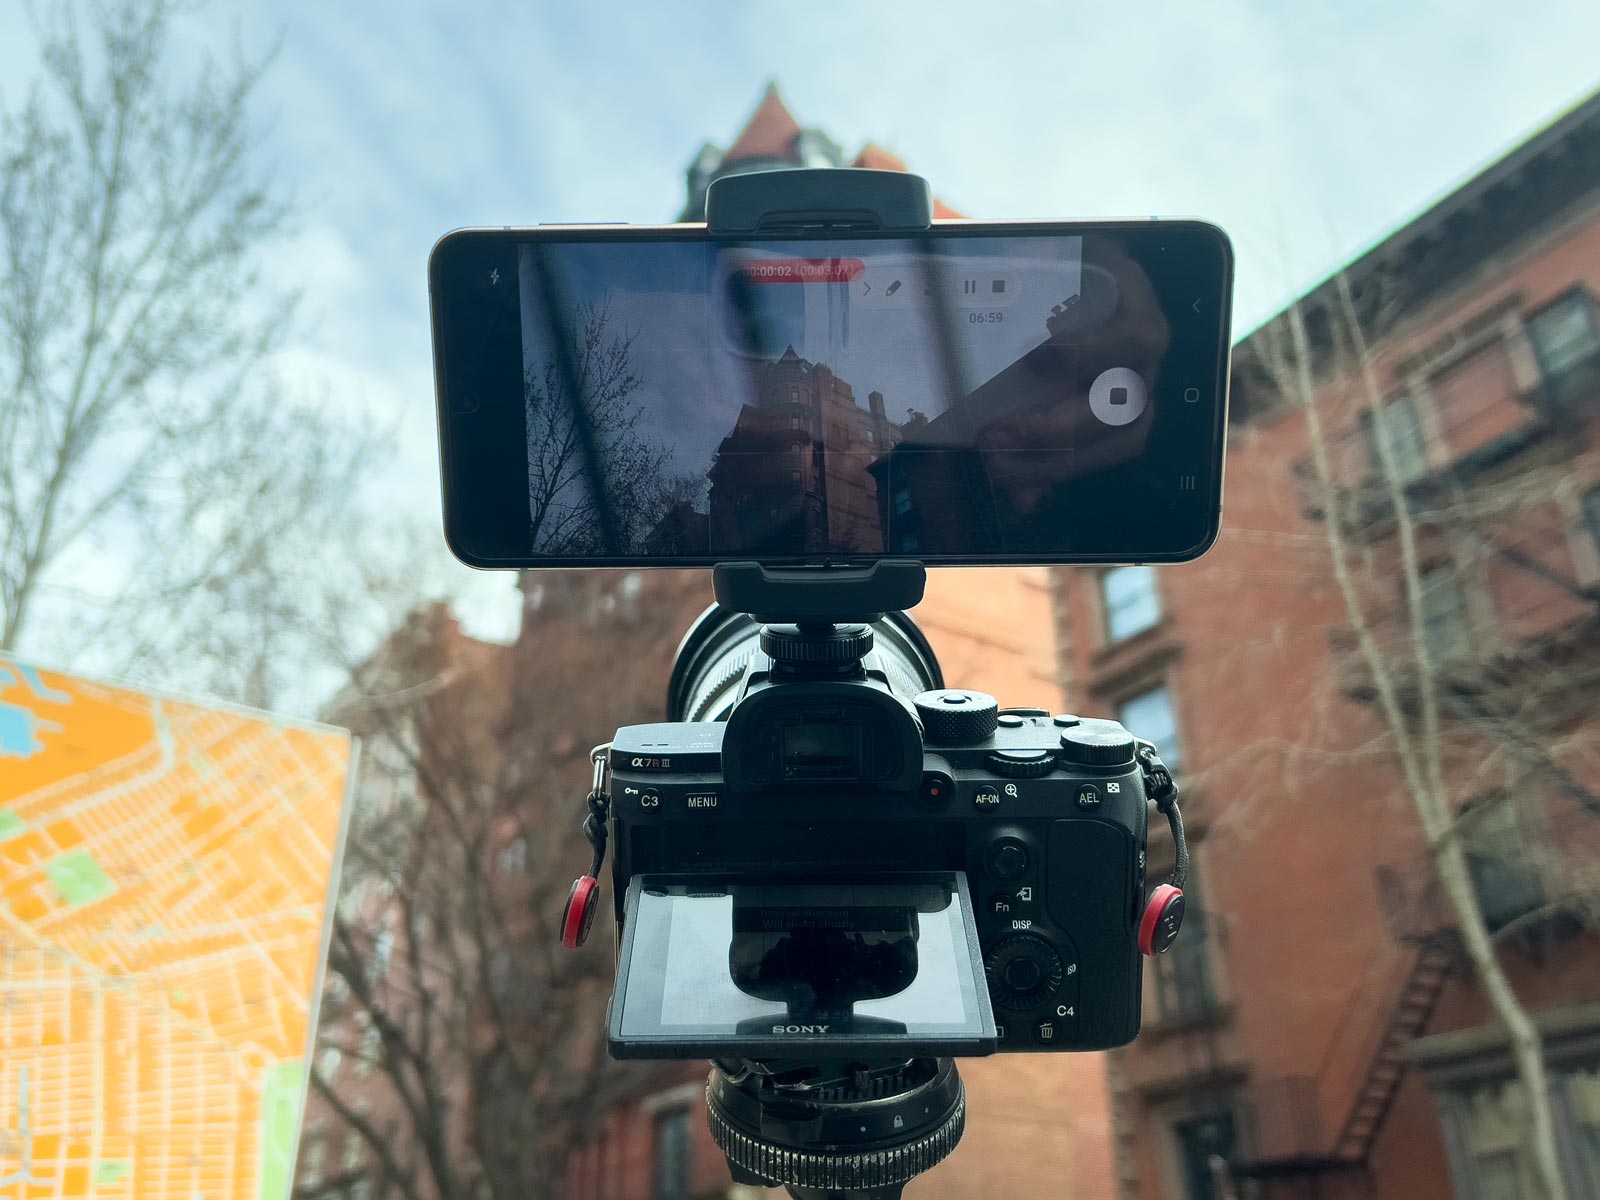
Shooting an iPhone Hyperlapse

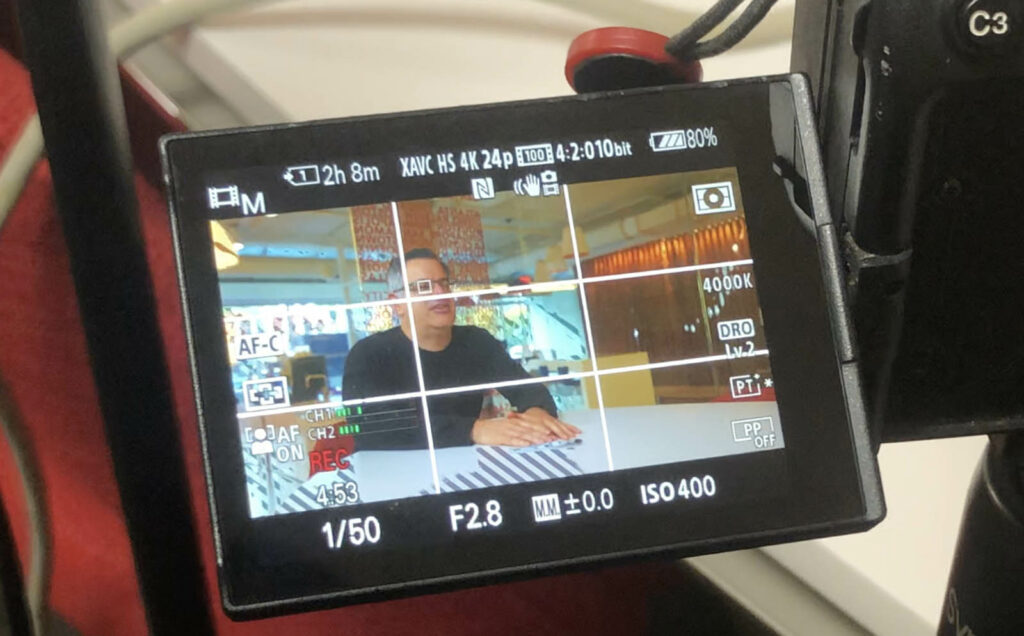
The simplest way to shoot an iPhone hyperlapse is easy. Launch the camera app that is on the iPhone and swipe over to where it says Time Lapse.
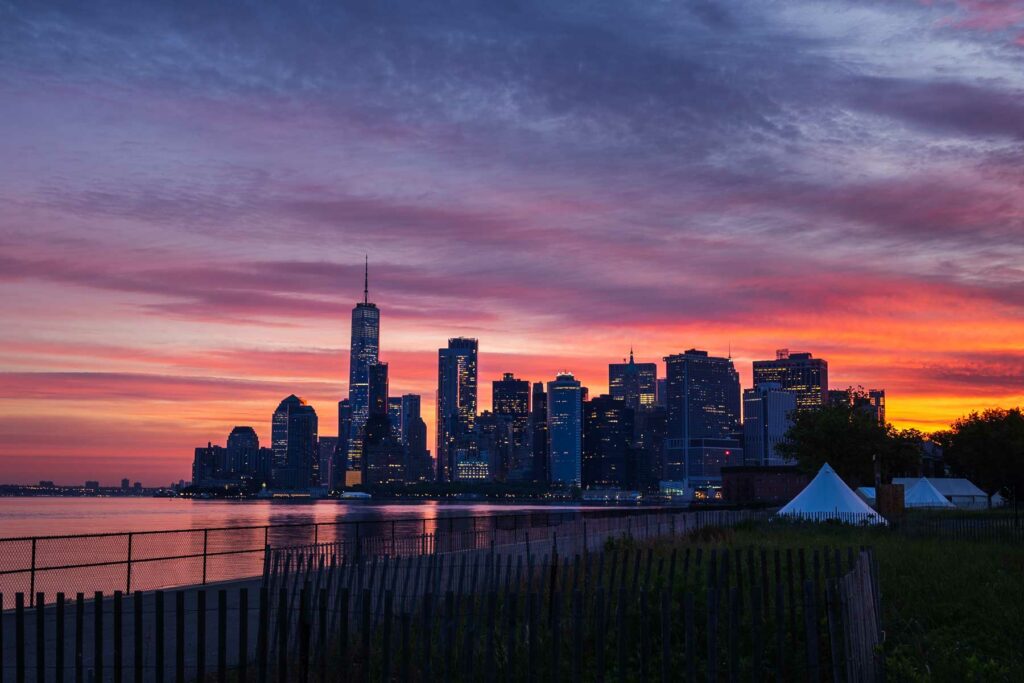
Then point the camera towards whatever it is that you want to shoot. For this example, I am using the World Trade Center.
Either put a small piece of tape where the World Trade Center is, or judge it with your eyes and the grids on the camera. Then go ahead and tap and hold on the World Trade Center.
When you do this, you should see a yellow box surrounding where you tapped, and then it should say AE locked. This step is important because it’s locking in your focus and exposure. This way you won’t get photos that are out of focus, or weird pulsing effects from it being brighter in some photos and then dark in others.
Once you’ve done all that, just pick a direction to walk. Since this is the example I am using, I am going to walk along the fence and keep my phone as CENTERED as possible on the World Trade Center.
Once you get to where you want your shot to end. Press the red button where the record used to be to stop shooting.
Simple iPhone Hyperlapse Editing TIPS
Editing any hyperlapses used to be such a challenge. Requiring a computer, expensive software, and patience! But now you can edit an iPhone hyperlapse in your iPhone in seconds.
The method I recommend is doing whatever color correction you want directly in your iPhone editing settings.
Then bring the iPhone hyperlapse you just shot into a free app called CapCut.

Once in CapCut, select the iPhone hyperlapse you just shot. Once you select it you’ll see the bottom of the phone show a bunch of different options, slide it to the right until you see the stabilize option.

It will then bring up four options. None, minimal cropping, Recommended, and Most Stable. Start with recommended, and see how it goes.
Once you’ve done this, you could also try adding motion blur, remember that you have to select the video clip in order to see the effects.

And that my friends is my simple iPhone Hyperlapse tips to shooting amazing hyperlapses straight on your iPhone.
If you’re curious about more advanced techniques to get even more professional results be sure to watch the video and it will condense everything I’ve learned in nearly two decades into just six minutes.
It goes beyond just using the free native apps and gives you an entire PROFESSIONAL workflow and points out the differences.
If you want to level up your time lapse and hyperlapse game so you can charge more money and save hours of headaches and frustration. I have made a course for you that over 400 students have enrolled in!
I’m confident Hyperflow Masterclass will get you from zero to shooting like a pro or I’ll give you your money back!
Check out the course here to see if it’s right for you.
They absolutely can. If you are worried about storage you should either shoot in FHD mode, which is a 1920×1080 file and much smaller than UHD files. You can also upgrade you SD Card, or invest in External Hard drives as well.
It will be one second or shorter.
On an iPhone the app is designed to make a time lapse take no more than 30 seconds. So a 30 minute time lapse will be between 10-20 seconds.
On an iPhone the app is designed to make a time lapse take no more than 30 seconds. So a hour long iPhone Hyperlapse will be no longer than 30 seconds.
On an iPhone the app is designed to make a time lapse take no more than 30 seconds. So a two hour time lapse will be no longer than 30 seconds.
This totally depends on the subject, but generally 10 seconds or less.
How to change the speed on a timelapse video will vary from device to device but the methods all should be some form of, go to the speed function on your editor, and increase the speed until you are happy with the result.
Unless you shot straight video, it is impossible to make a timelapse video playback at normal speed. Fun fact, A single second of video is actually made up of 24 photos.
But if you shoot a timelapse using photos you typically shoot 1 photo per second. So you are missing 23 of the additional possible photos for that second.
That is why it is impossible (unless you recorded a video) to return your timelapse video to normal speed.