Shooting a sunset time lapse was one of the first big bucket list items I wanted to learn when I first began timelapse photography while living in South Korea.
I made a whole trip out of the shoot. Renting the cheapest hotel room I could find that was close to the location where I’d try my first sunset time lapse ever. I was so excited.
The results were pretty bad, I made so many mistakes that I would eventually learn from. But I was hooked and each week I tried to improve.
My biggest mistake was trying to take off my ND filter in the middle of the shoot. Resulting in losing focus, and bumping my tripod a lot during the process.
This article will share the best tips I’ve learned for shooting a Sunset Time lapse that is easy to shoot and look professional with whatever gear you have.
If you want to level up your time lapse and hyperlapse game so you can charge more money and save hours of headaches and frustration. I have made a course for you that over 400 students have enrolled in!
I’m confident Hyperflow Masterclass will get you from zero to shooting like a pro or I’ll give you your money back!
Check out the course here to see if it’s right for you.
How to Shoot Sunset Time lapse like a Pro
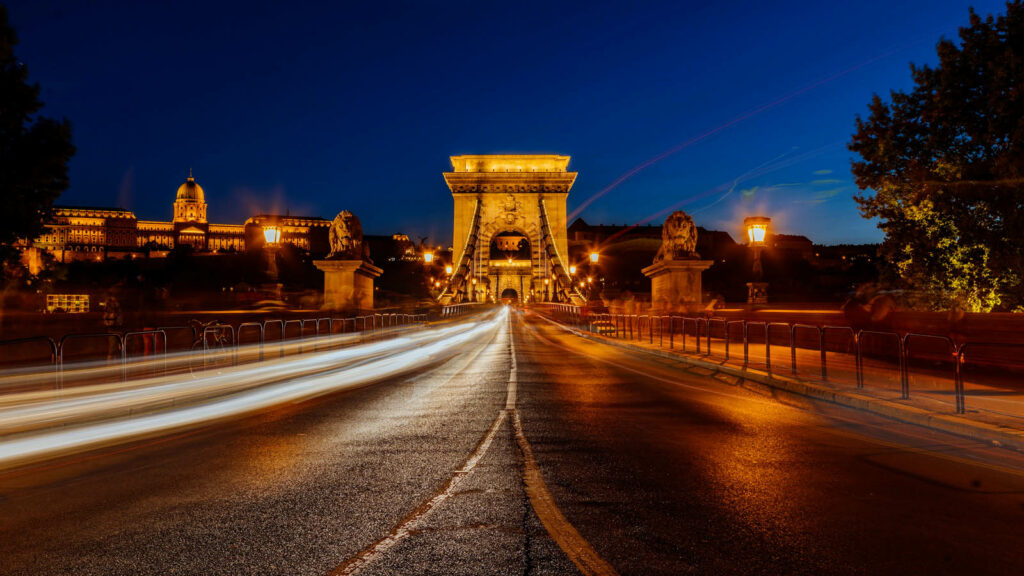
A lot of this info on getting a good sunset timelapse will focus more on DSLR shooting, but the same thing applies to using your smartphone.
What is a Sunset Time lapse?
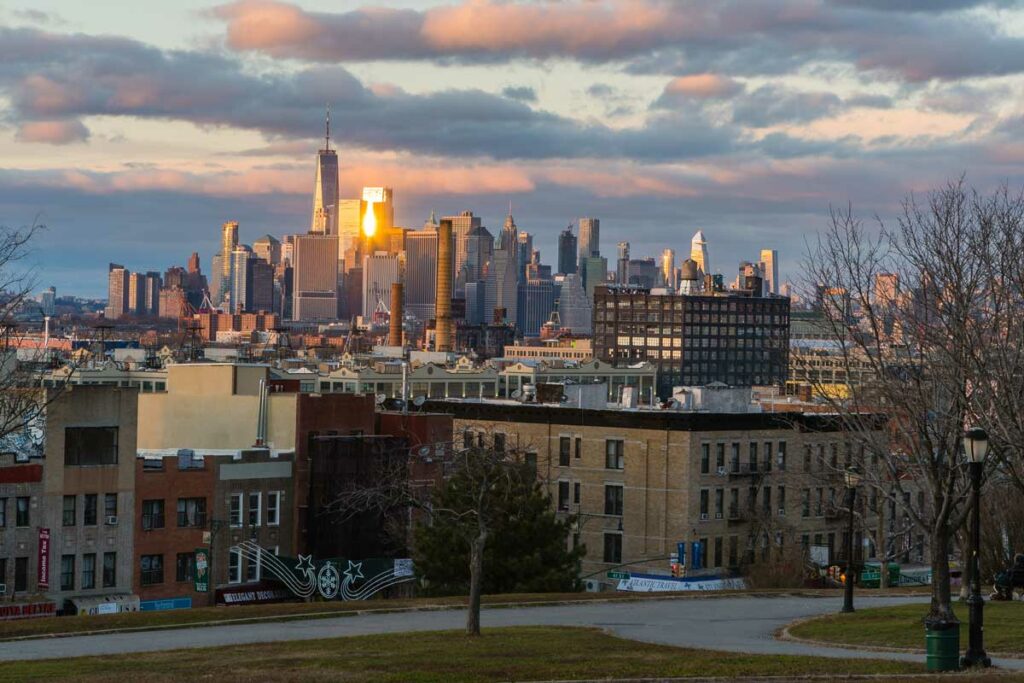
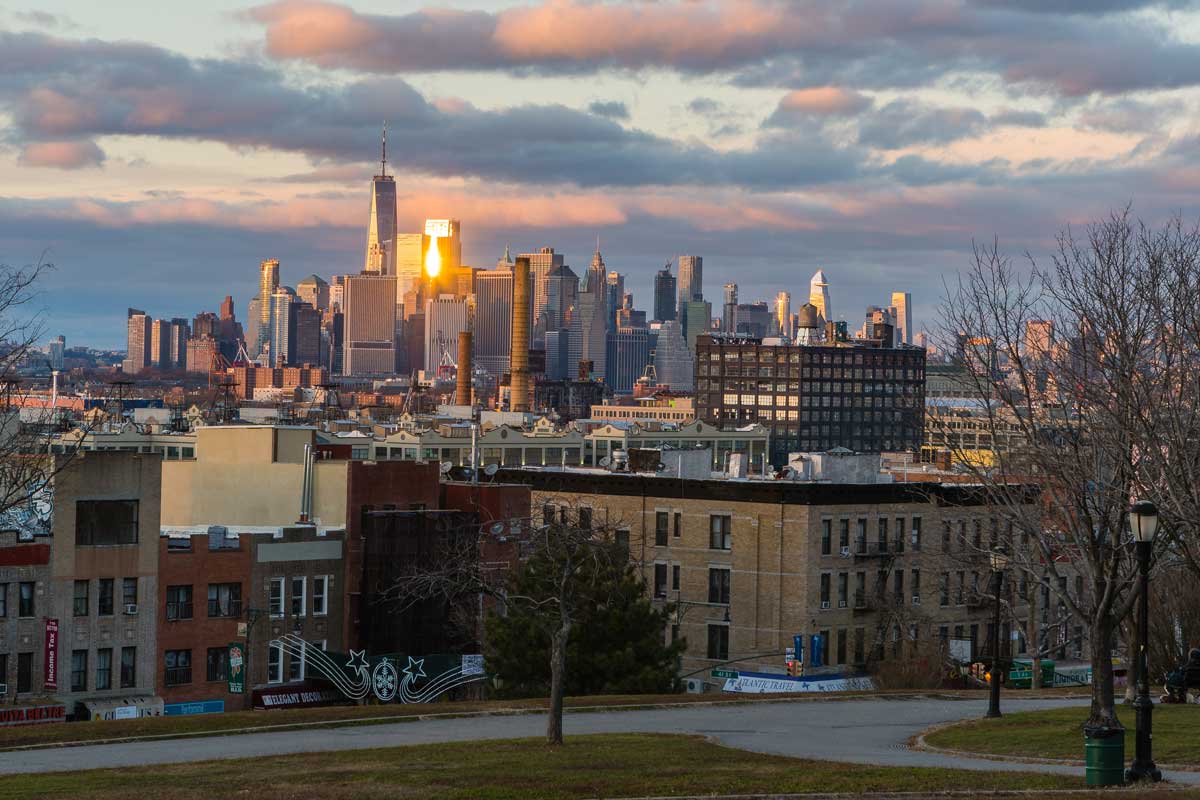
A sunset timelapse is a timelapse of a scene where we see the movement of the sun during a sunset, or see the dramatic change of colors from a sunset.
Why Do We Shoot Time Lapses?
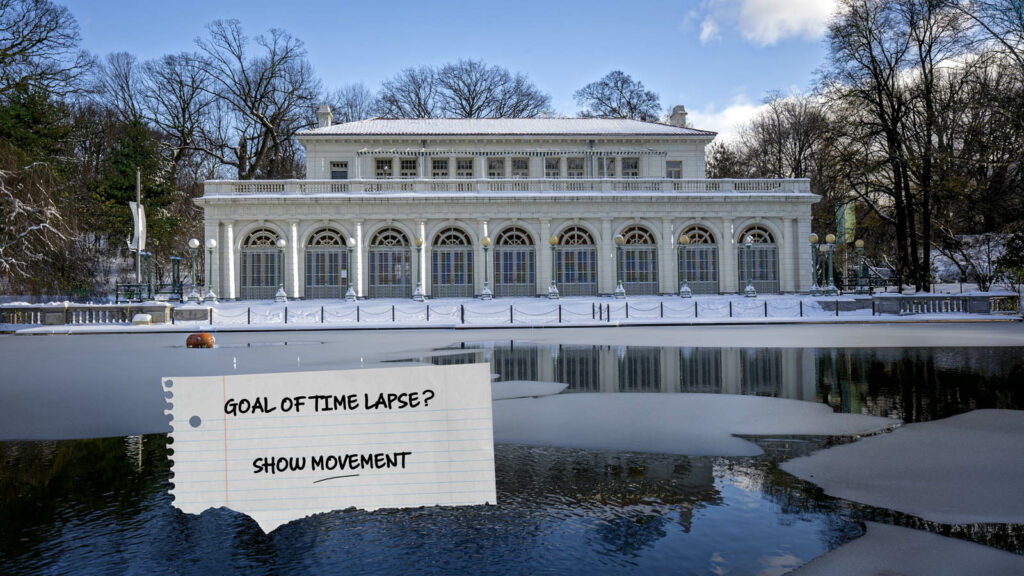
The reason we would want to shoot a sunset time lapse is to show the viewers how breathtaking a location is during that golden hour.
It makes for a showstopping image when you’ve planned out a beautiful location for a sunset time lapse.
Another reason is if we want to show the movement of the sun during a sunset. When we see the sun go down, we know that means night time.
TV Shows often do this to communicate to the viewer that we are transitioning the rest of the shots from day to night.
Gear Needed for ANY Time lapse
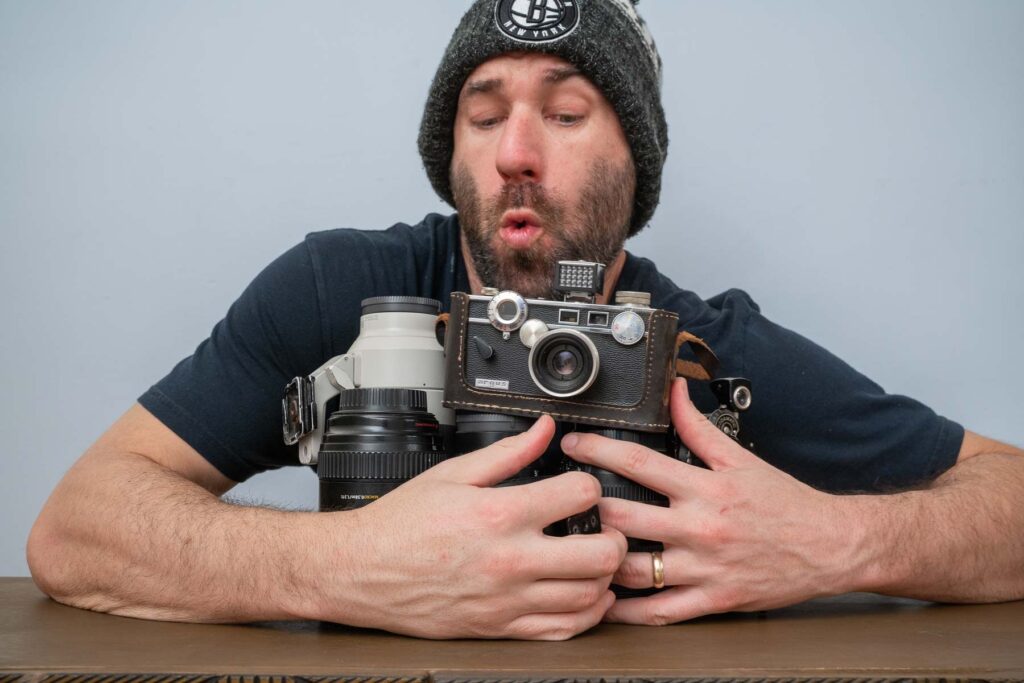
Like shooting any time lapse, there is specific gear that will make shooting a sunset time lapse a lot easier.
The main gear needed would be a camera, tripod, and intervalometer. Most smartphones and DSLRs have a built-in intervalometer in them so check to make sure in case you need to buy one.
CAMERA FOR TIME LAPSE PHOTOGRAPHY
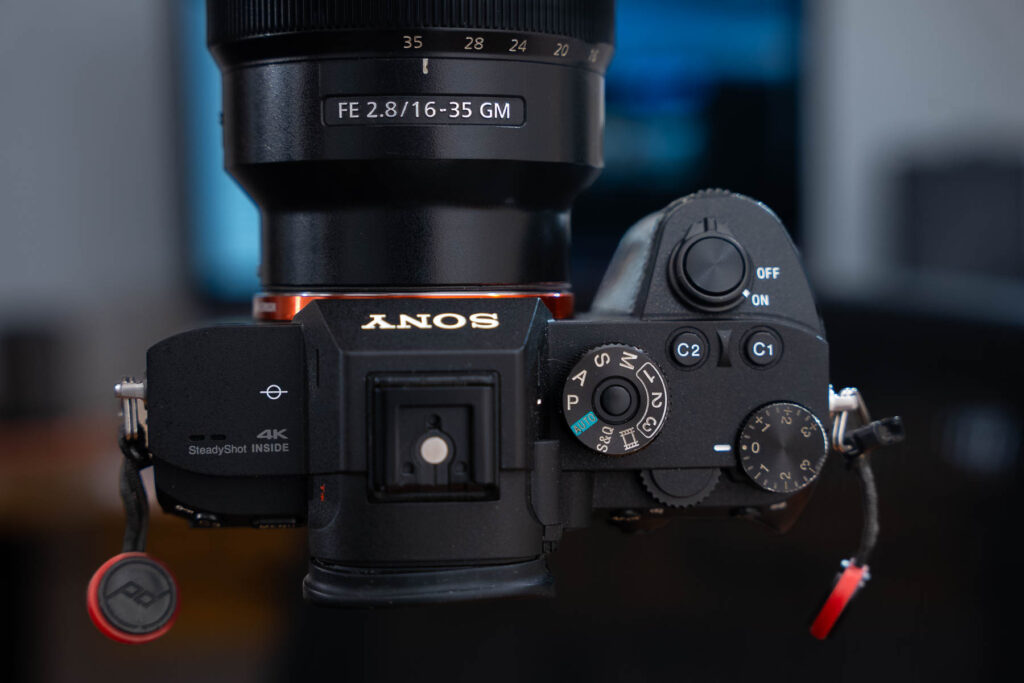
Don’t over think this, use whatever camera you have. If you are looking to invest in some gear, you can’t go wrong with the Sony system. I personally think they are making the best camera equipment at the moment. I use the Sony A7Riii for my time lapses and the Sony a7SIII for all my other video work.
INTERVALOMETER
Luckily most of these come with default cameras now, but in case it doesn’t here’s some ones to check out.
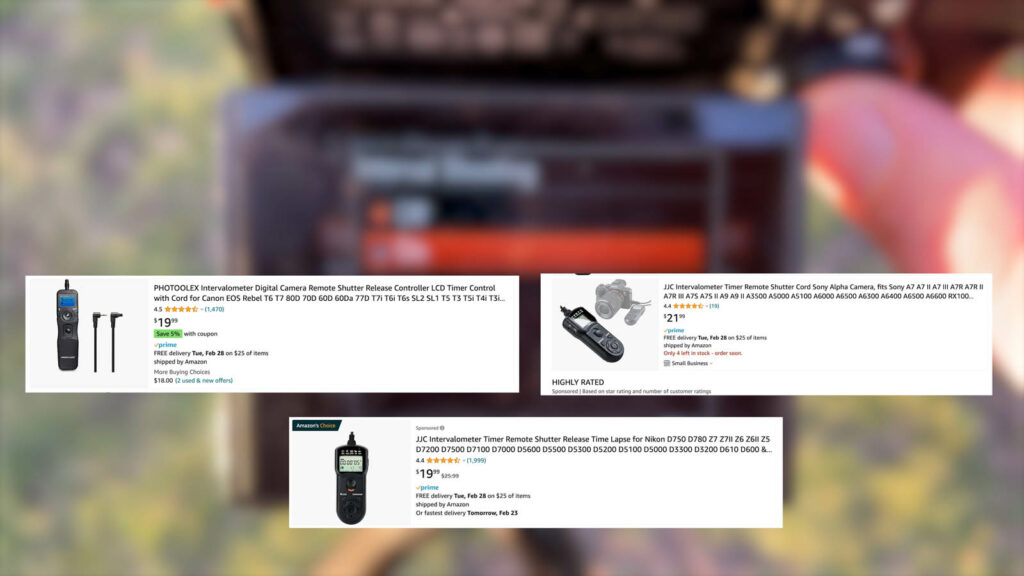
If you need to buy one I recommend the cheap generic version for your camera make. They’re just as good and usually 20 bucks.
Look at the different intervalometer options on amazon.
APPS
An app or way to know what time the sunsets. You can always google it, but I love The Photographer’s Ephemeris, or Photopills to use.
TRIPOD
A STURDY tripod. Travel tripods are great, they work, but eventually, you may want to upgrade to a heavy tripod for high winds and astrophotography.
Sometimes I will rent specialty tripods, but my go-to is the Peak Design tripod which you can check out here on Amazon.
Trust me, there’s nothing worse than spending lots of money to go on vacation to try and shoot the Milkyway or aurora Borealis and have it ruined by wind blowing your tripod and camera.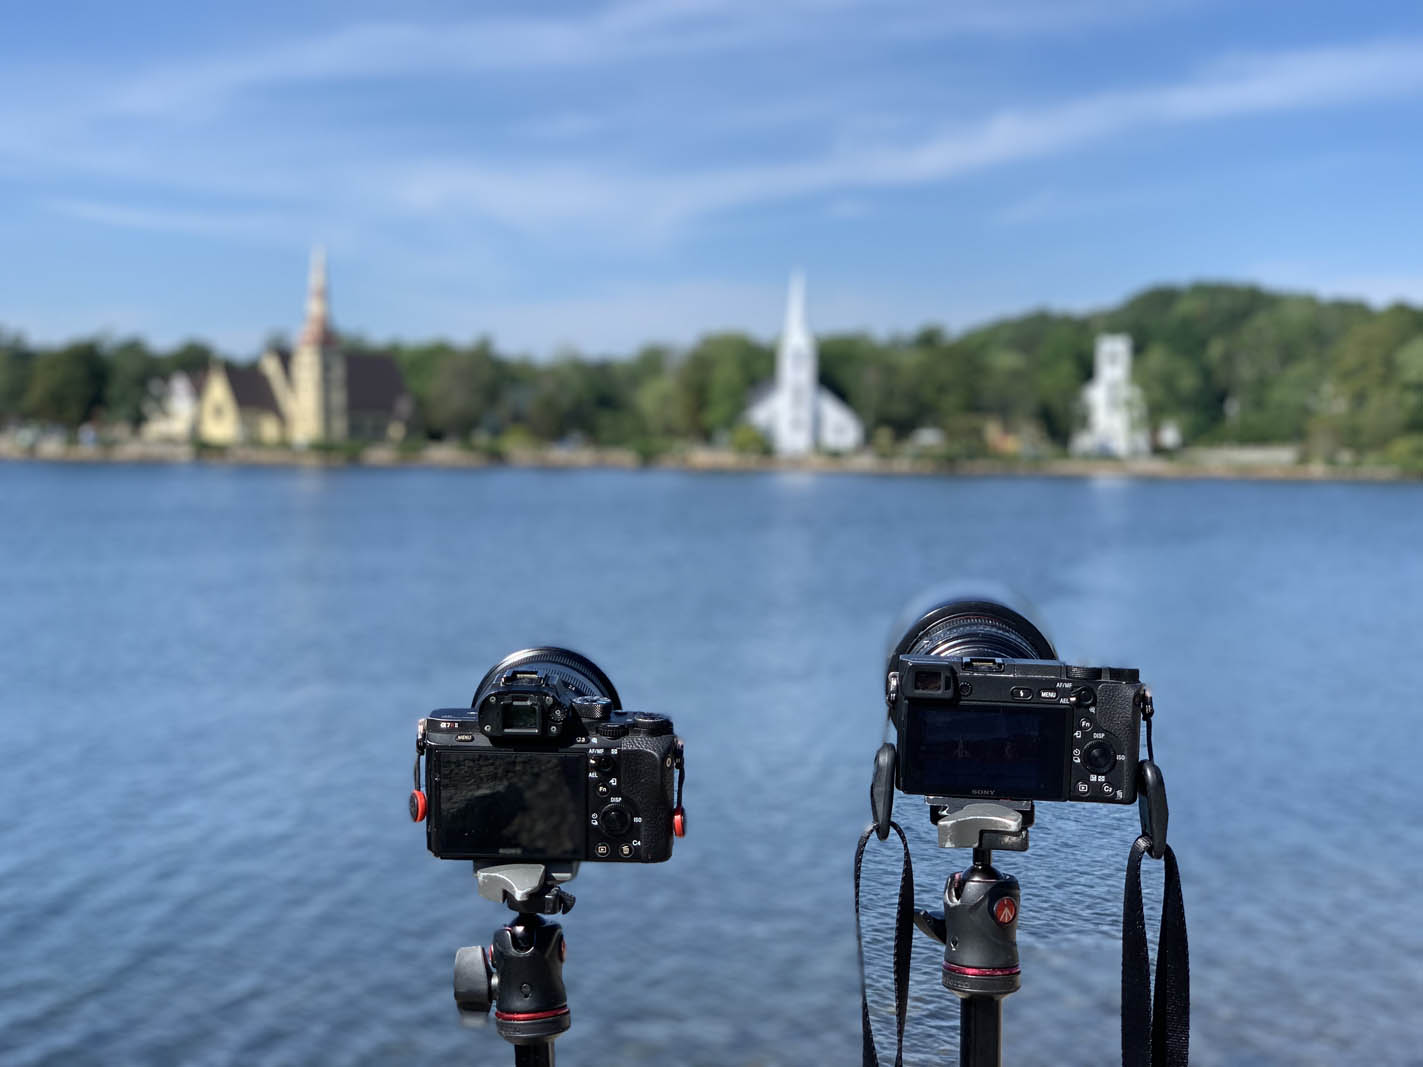
If your tripod knocks over the best-case scenario is ruining the shot, but the worst-case scenario is you breaking your camera.
FLASHLIGHT
I’d recommend getting flashlights if you end up doing sunsets, sunrises, astrophotography or anything involving the night.
You definitely don’t want them on while your time lapse is shooting. BUT, when it’s time to pack up or set up your shot and you can’t see your equipment because it’s dark.
Having a flashlight or even better a headlight is very helpful.
STORAGE
SD Cards and external hard drives. Remember that a time lapse is made up of hundreds of photos.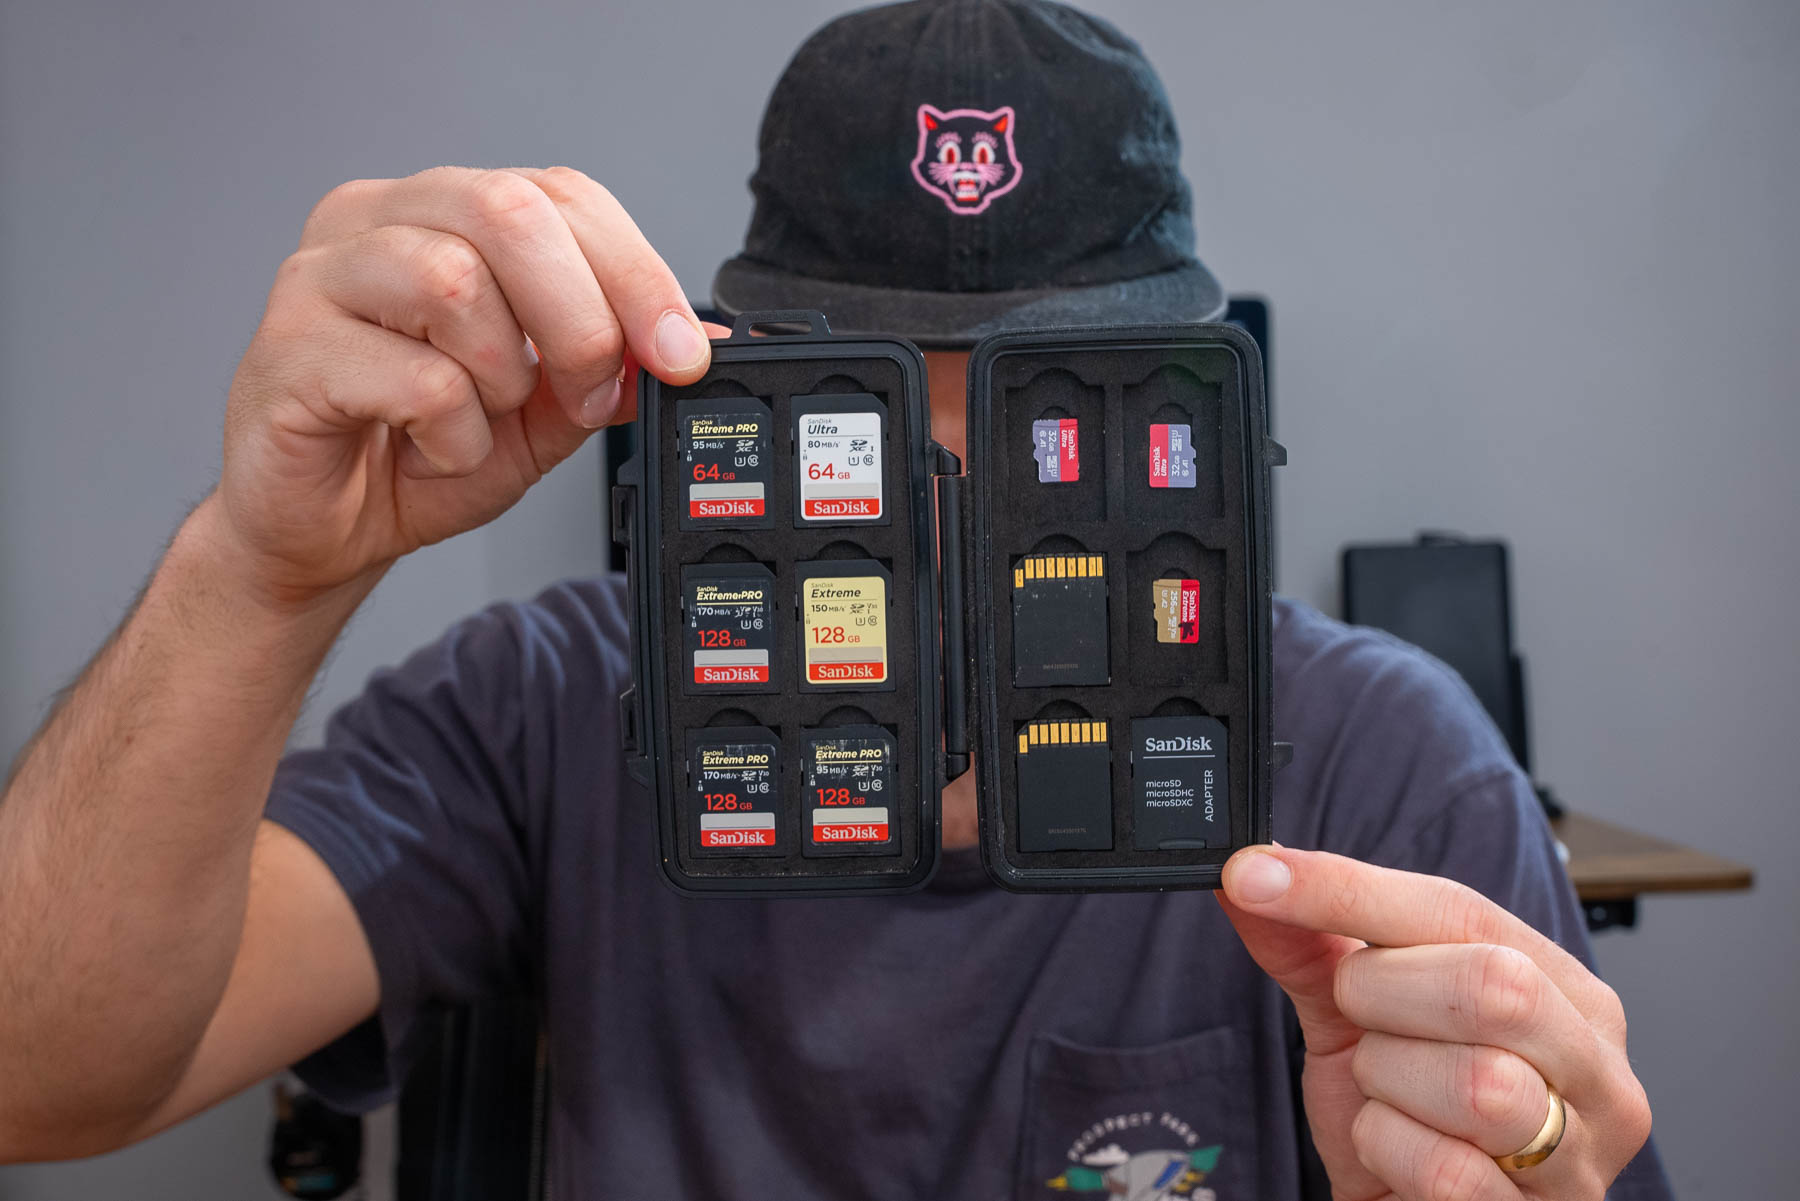
Each photo takes up space. This can take up a lot of memory and storage.
The more you get into this fun creative field the more storage you’ll need. I recommend shopping around and getting plenty SD cards and a couple external hard drives to store all your stuff.
There are always deals on amazon for SD cards and external hard drives so check them out, especially around black Friday.
CAMERA BAG
A good camera bag is also going to be handy. You may find yourself hiking to places to get these shots, or wanting a safe and comfortable way to carry your gear. 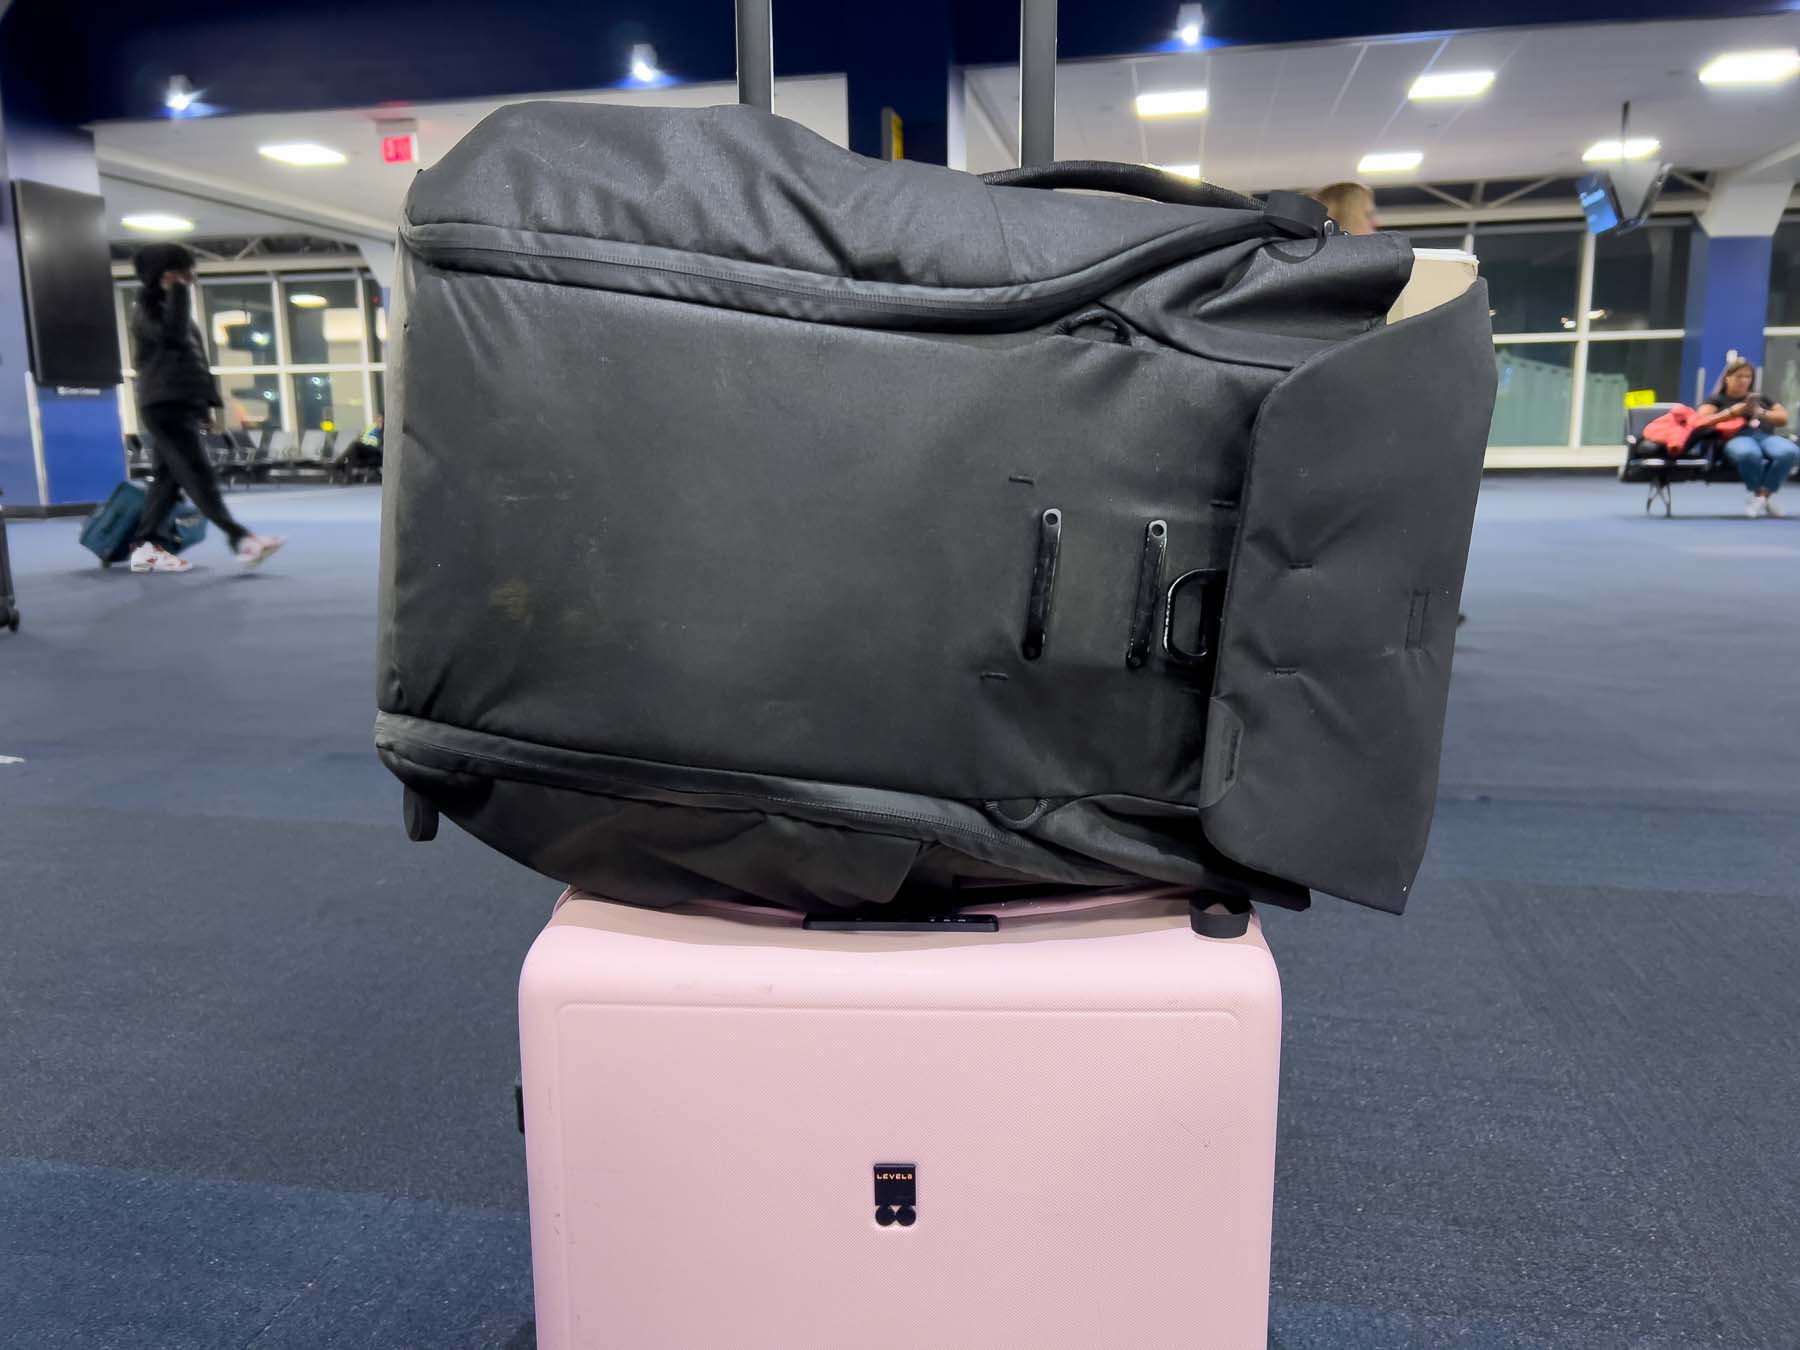
I have used the Peak Design backpacks for the last 6 years and absolutely love them. Lightweight, waterproof, and carry a surprising amount of gear very comfortably.
What I love about the peak design bags is that my water bottle and tripod can easily fit on the outside so I always have two very important things when shooting. Water and a tripod.
Check out the prices on the 30L Peak Design Backpack. It’s comfy and can carry a lot!
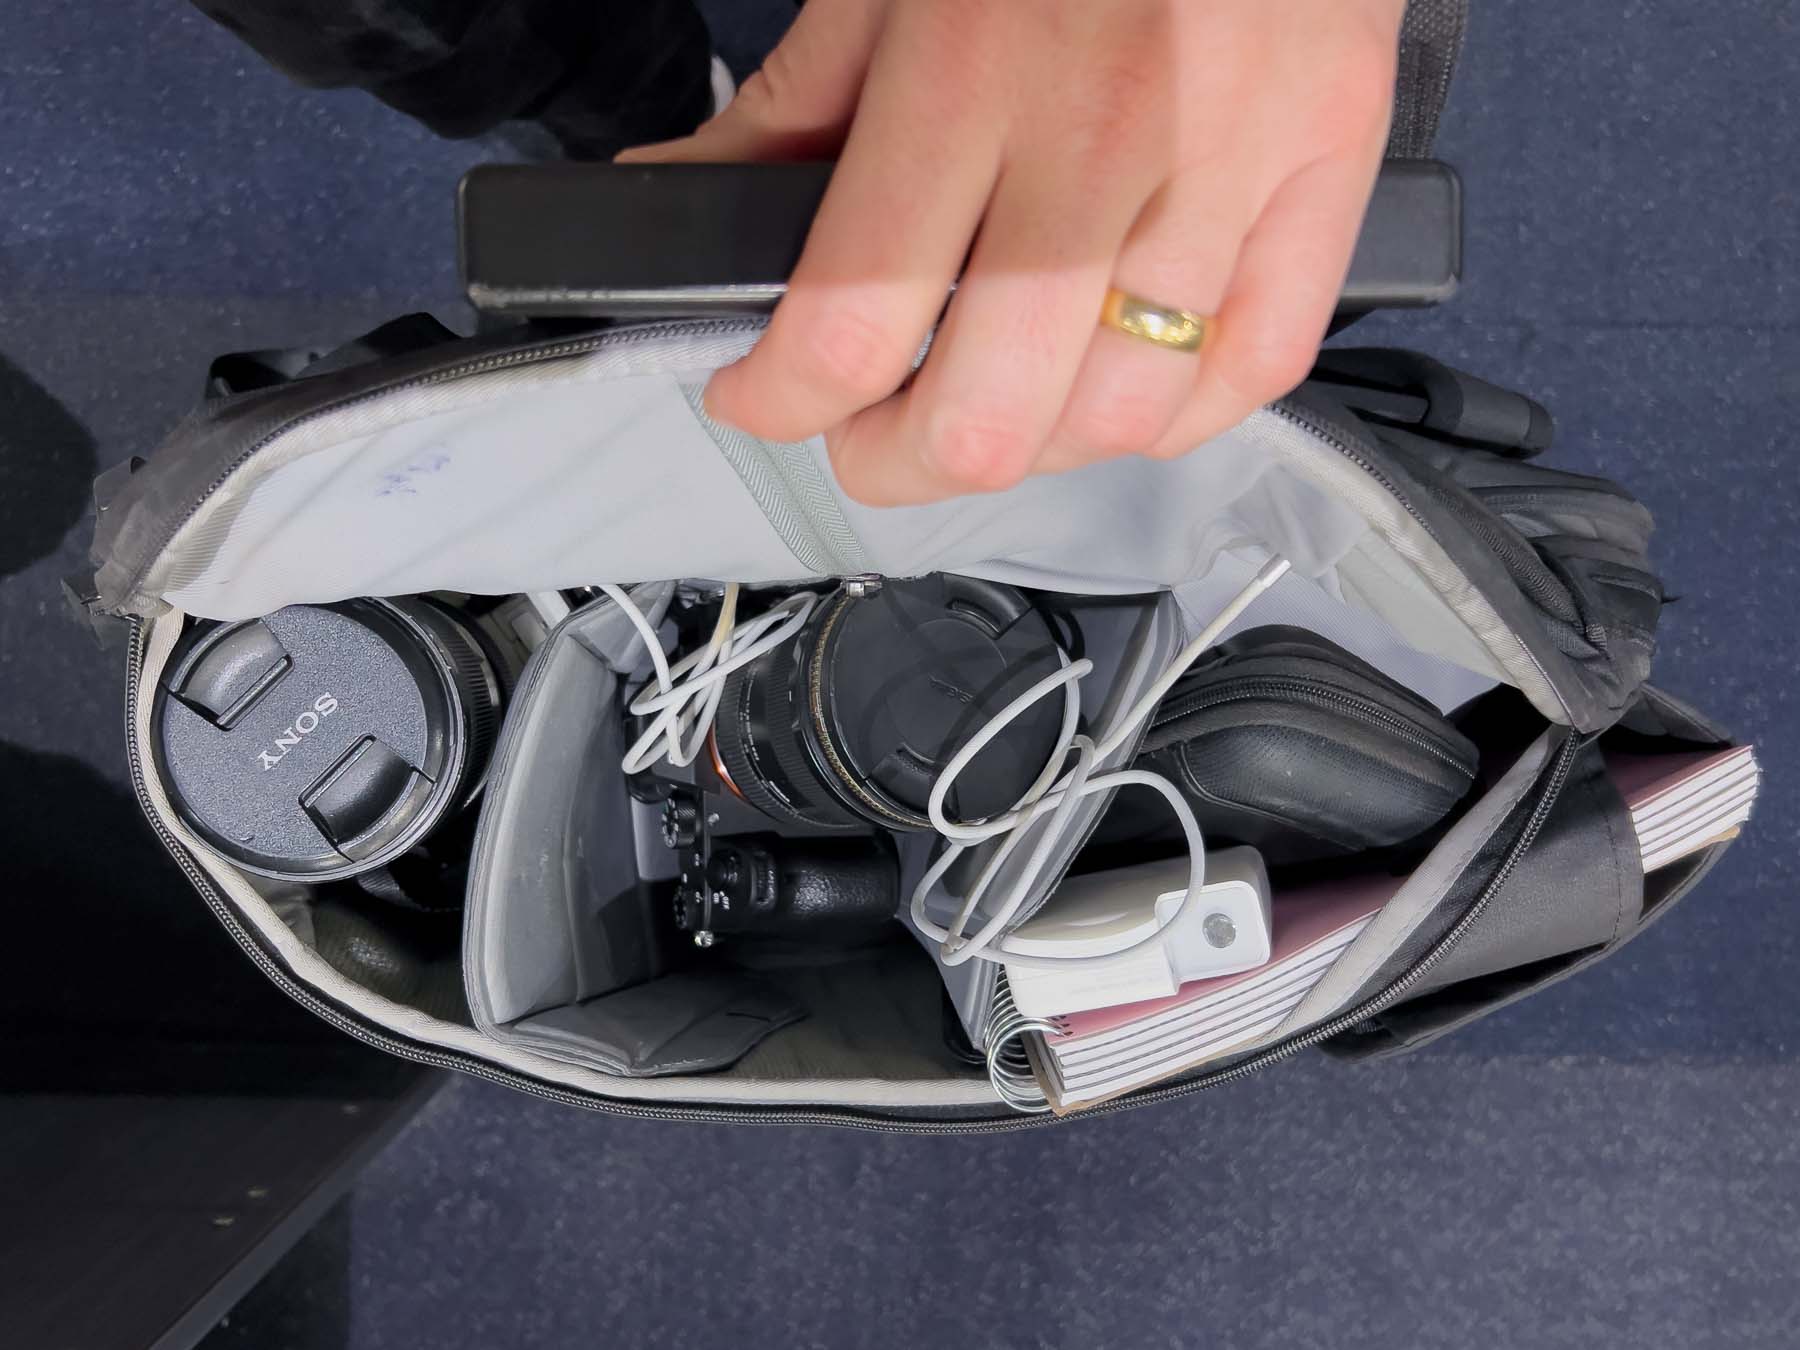
Since you have a backpack. I recommend when prepping bring some extra layers, especially if planning to shoot long-term or overnight.
You never know when it may get cold and having things like gloves, a windbreaker, a beanie, and snacks might be the difference between a miserable shoot and a great shoot.
For compact wind jackets, I really like UNIQLO’s ultra-light jacket. It’s as light as a feather, stylish, and best of all folds up to be as small as a camera.
Even if you don’t end up needing it, it acts as an extra cushion for your gear.
A time lapse slider. As you progress in the world of time lapse you may want to add movement to your shots. These are really advanced, but may be great next-level tools to add an extra dimension to your shots.
Shop online and make sure you know what you want in a time-lapse slider because they can easily range from $200 – $5,000.
What Makes a Good Sunset Time lapse?
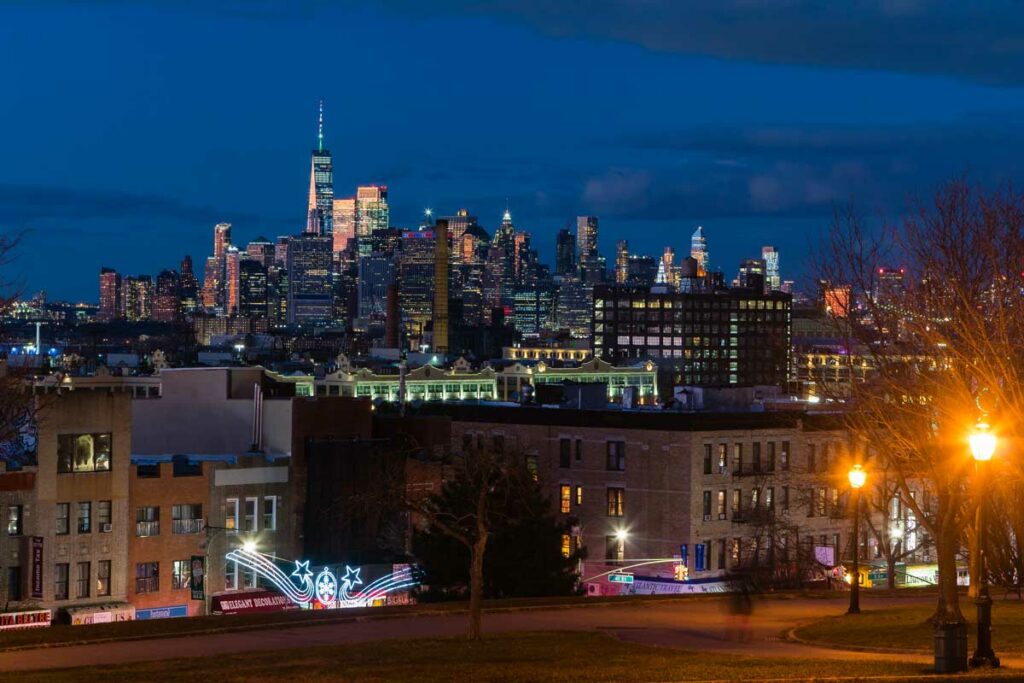
The key to getting a good sunset time lapse is reminding yourself why you are even shooting it in the first place. You want to see the scene change.
So when you are on the location, ask yourself what the most interesting thing on the scene is.
Your composition rules like the rule of thirds and symmetry are going to be great rules of thumb to follow.
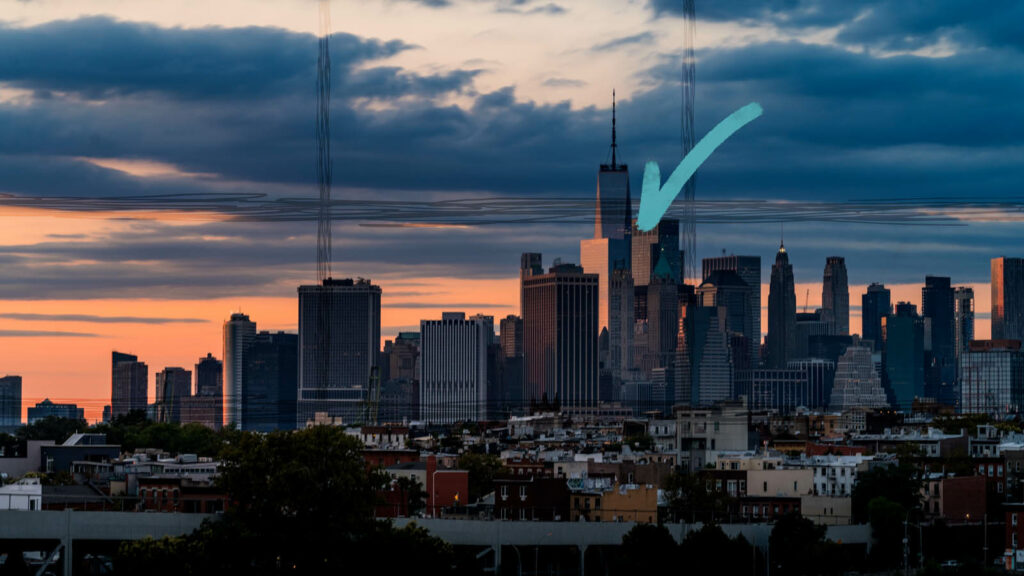
But you may also want to have your viewer follow the path of the sun. TV shows will often use a sunset time lapse to transition into nighttime. This is a great visual cue.
What makes a good sunset time lapse is often going to be the nice beautiful colors of the sky. Or the silhouettes of mountains or buildings. Or maybe a setting where a city turns to life after sunset.
The best ones are going to combine the above with great composition. This is going to come with practice because planning and shooting a sunset time lapse are a bit tricky.
How to Plan a Sunset Time lapse?
The best way to plan a sunset time lapse is from the comfort of your home at your computer.
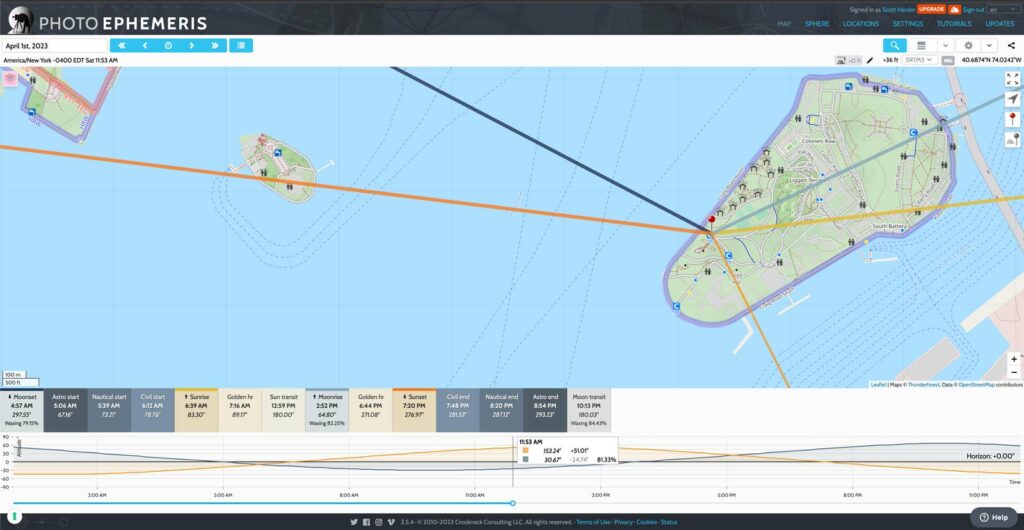
For planning at home, I use the Photographers Ephemeris desktop app (free) and google maps (also free.)

On the Photographer’s Ephemeris (TPE for short) I will find the subject I want to shoot for the time lapse. In this case, it’s the statue of liberty and I want a time lapse of the sunset behind it.
I’ll then check the sunset time and use google maps to plan to arrive at least ONE HOUR before sunset. 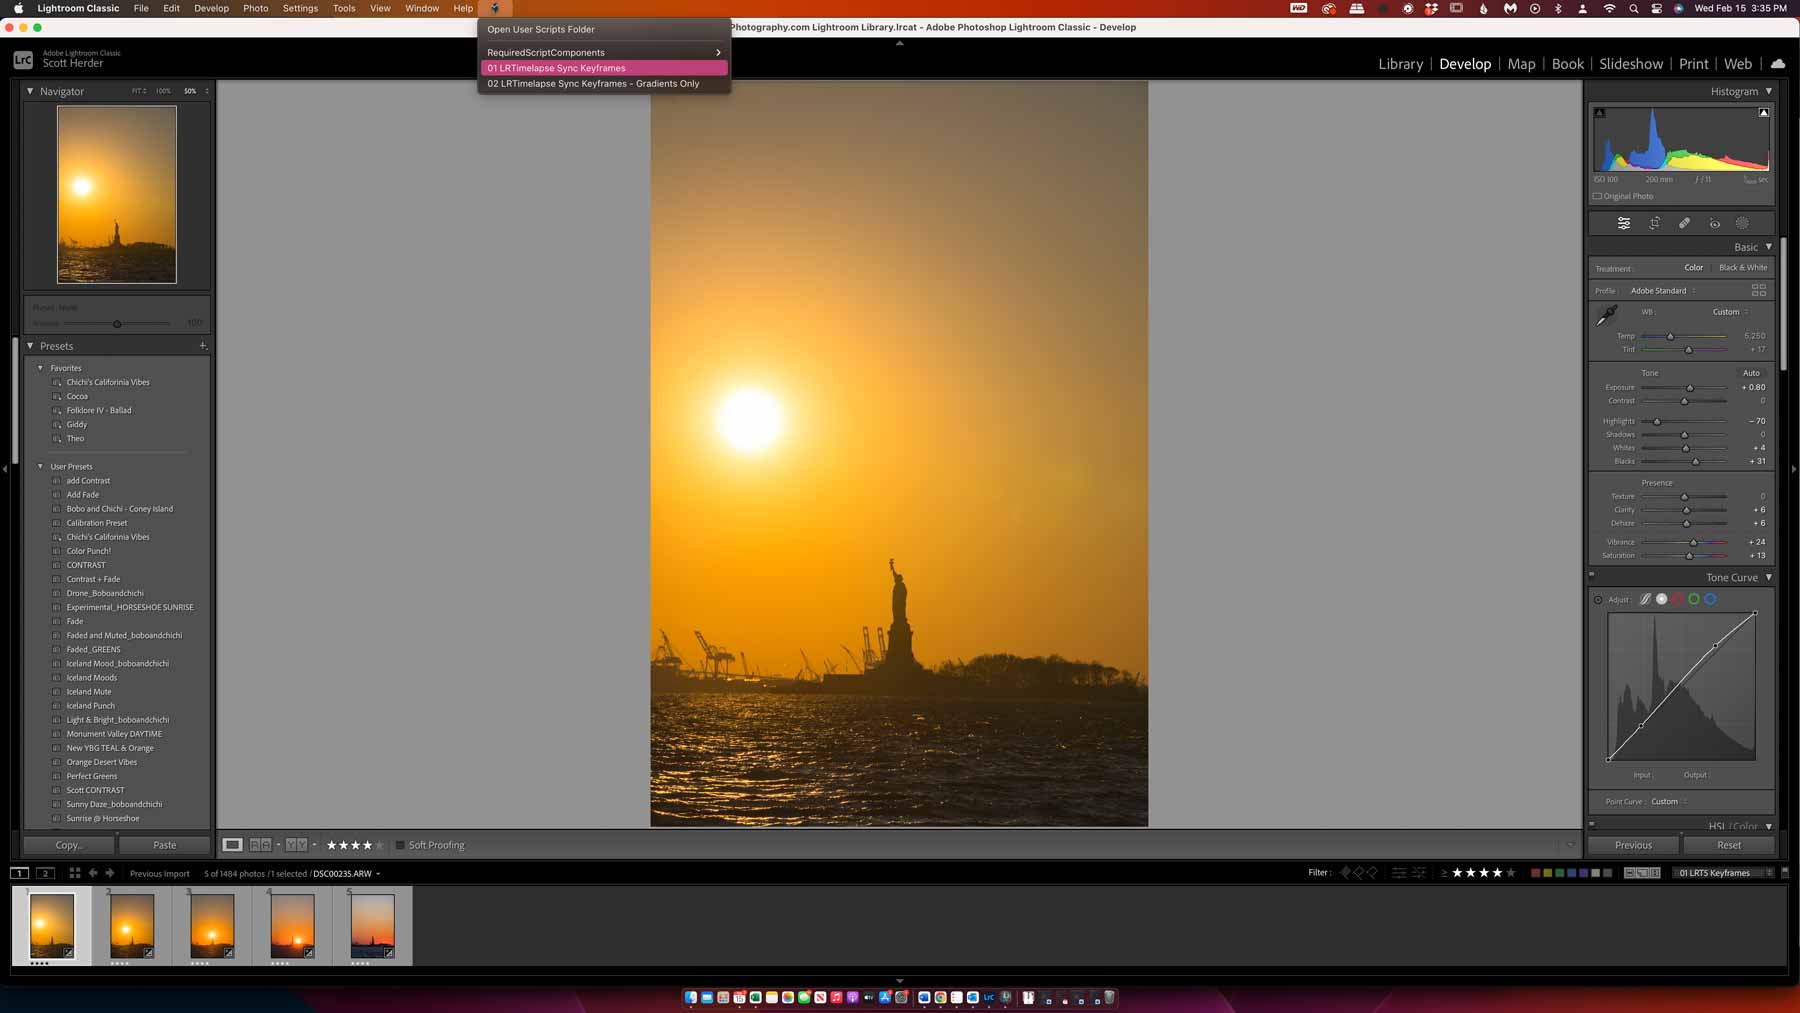
I’ll talk more about that later, but if you want to see the sunset, you gotta be there before it sets.
Best Camera Settings for a Sunset Time lapse
The best sunset timelapse settings for your camera are to shoot in FULL Manual. However, If you have a camera that was made since 2020, you can probably get away with aperture priority mode or shutter priority mode.
Aperture priority mode will keep the depth of field you want, but adjust the shutter speed and or ISO between each photo. Great if you have an AUTO ISO option and a longer interval.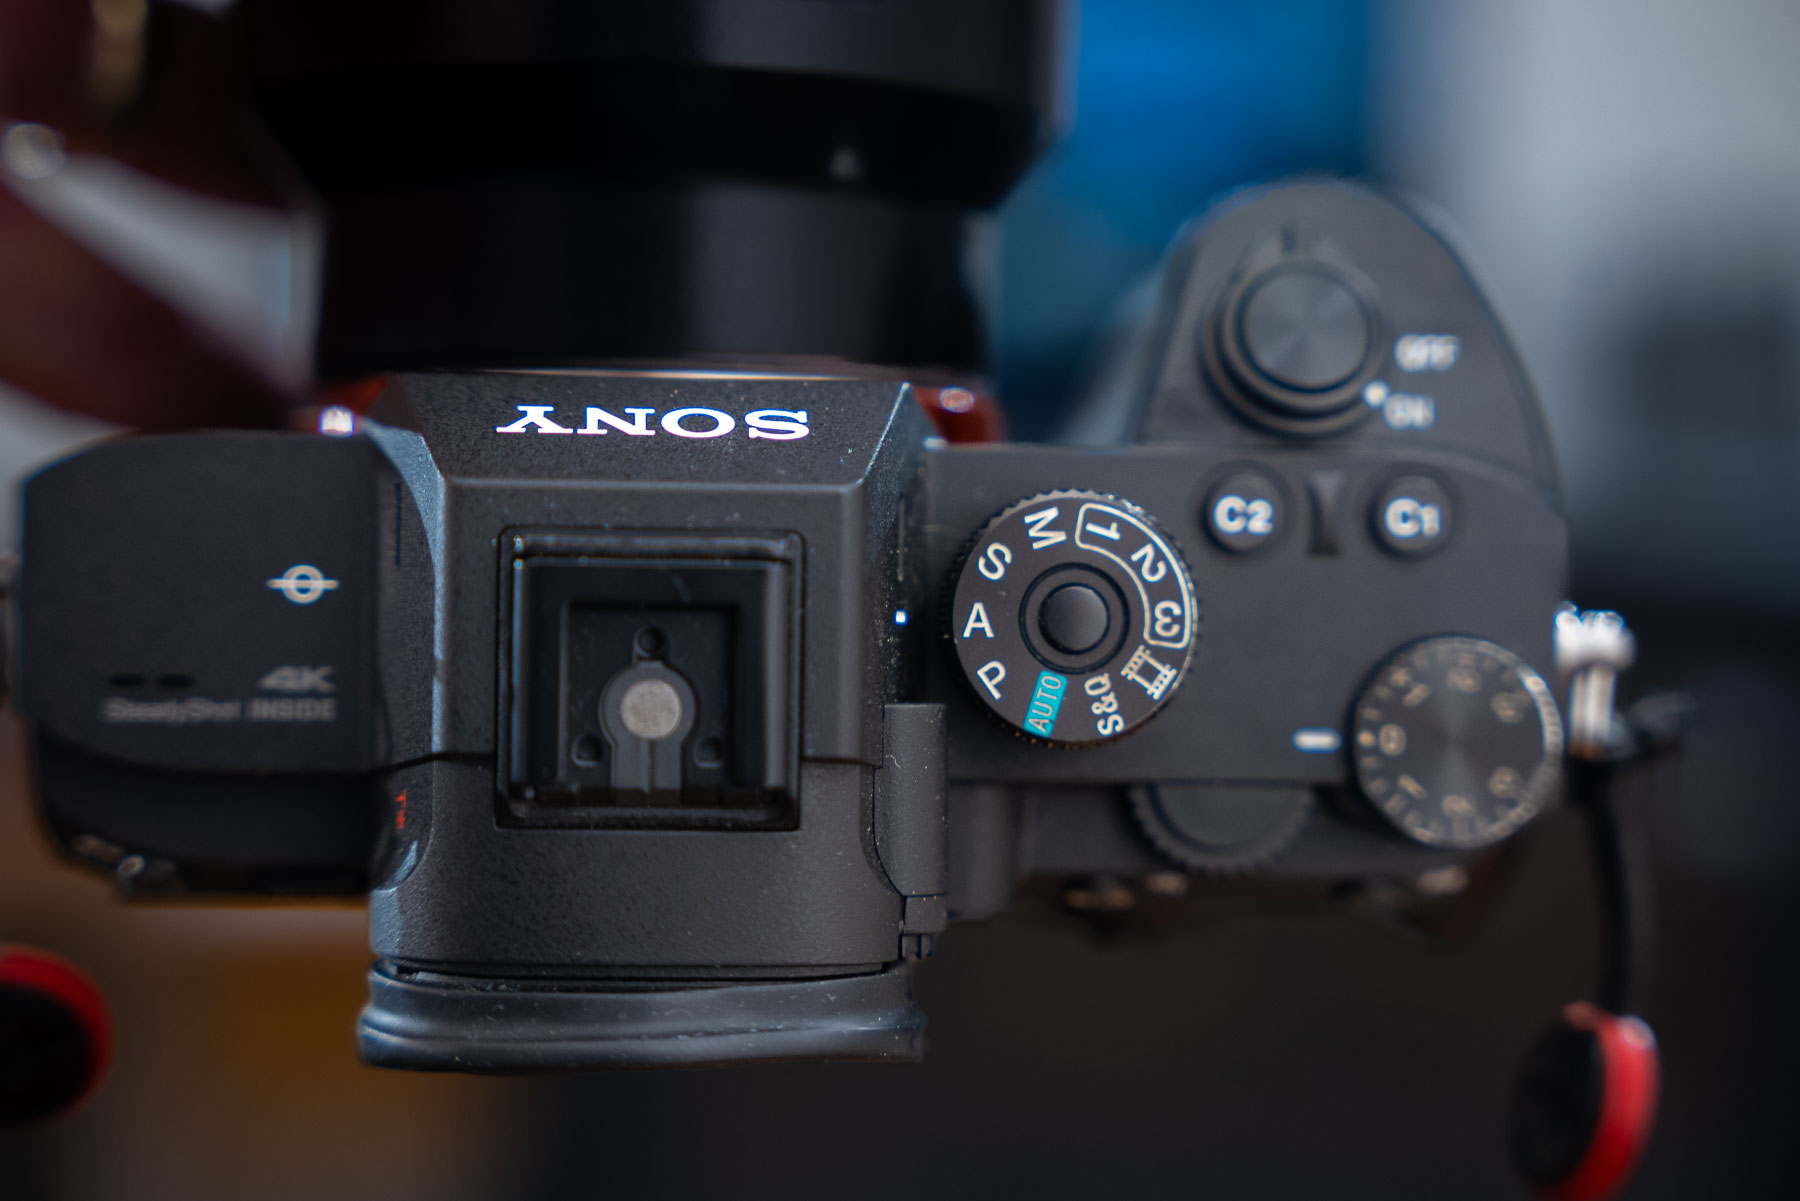
Shutter priority mode will keep your shutter speed consistent and adjust your aperture or ISO. Great if you have AUTO ISO AND have a shorter interval.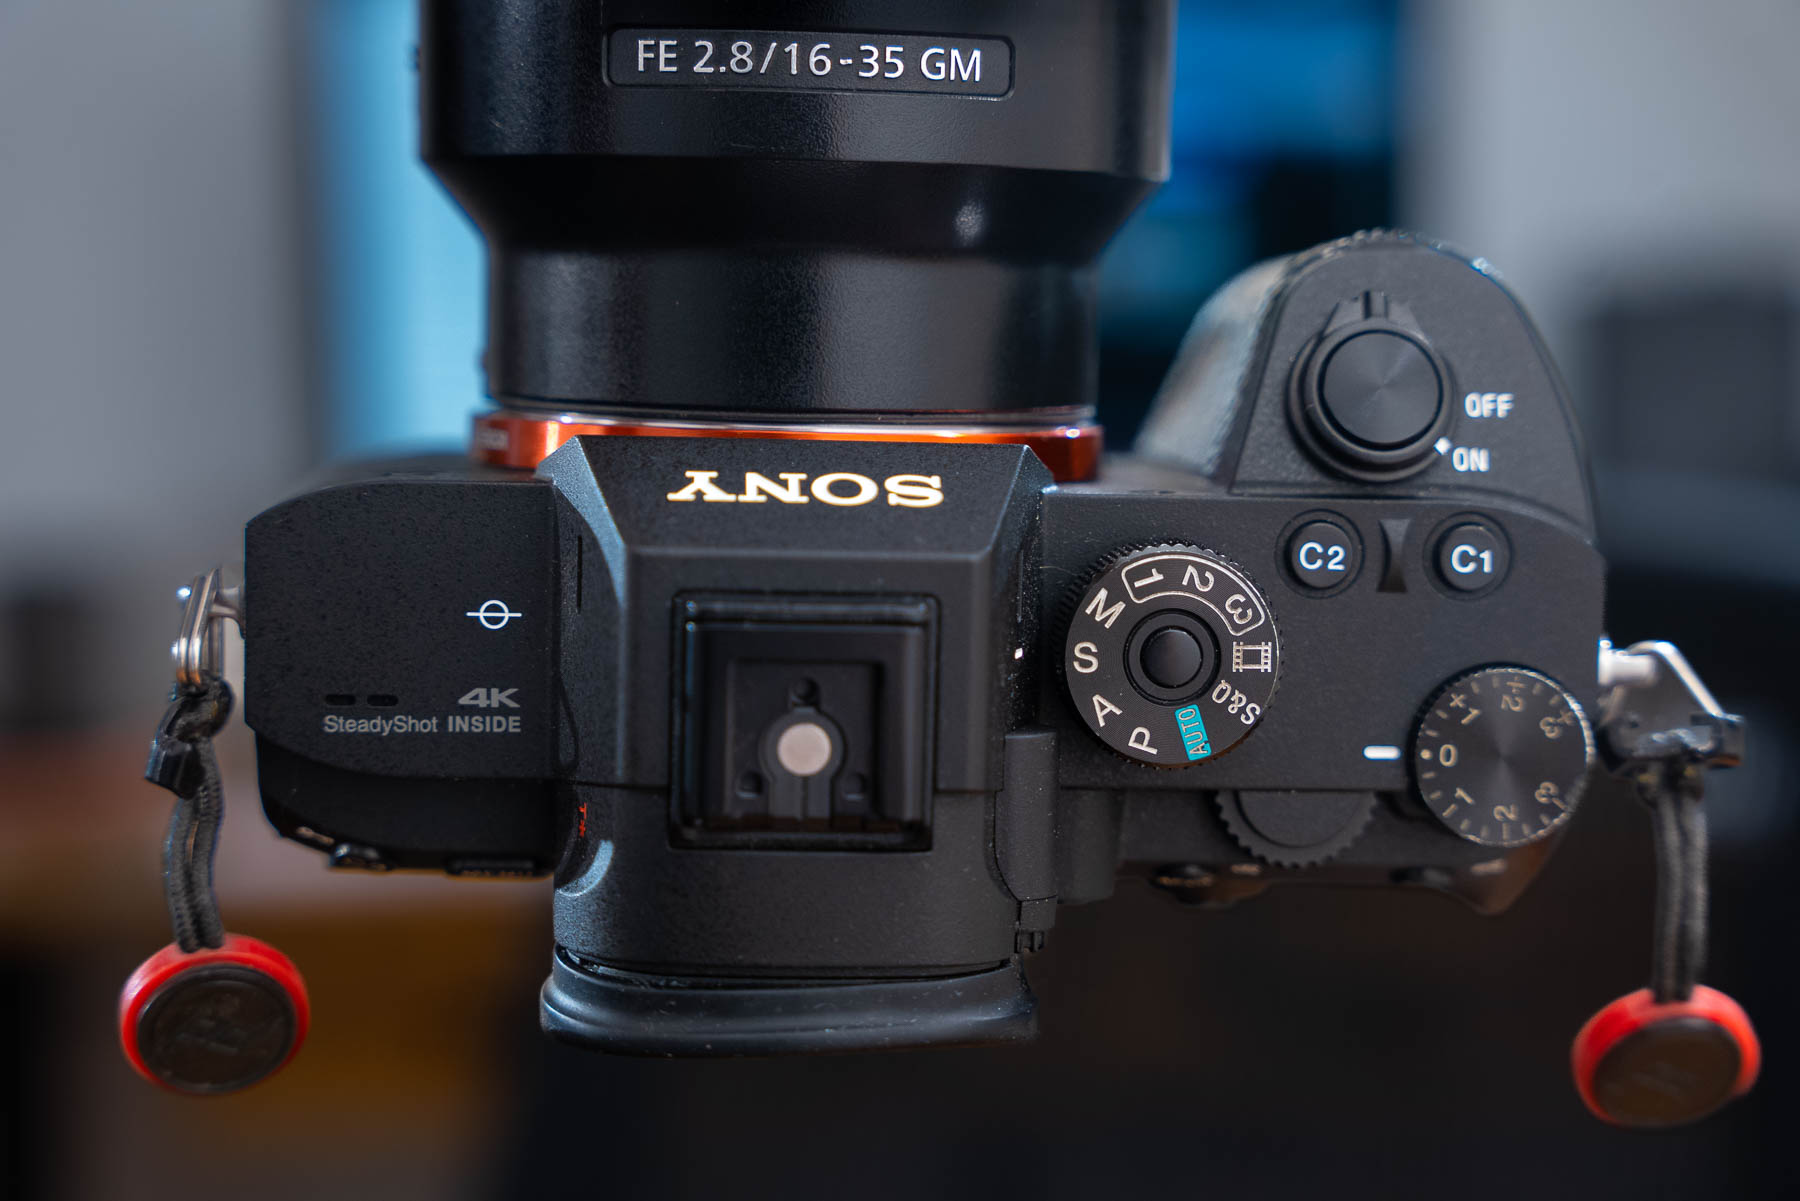
Just try experimenting with your gear. If your interval is longer than 5 seconds stick with aperture priority mode. If shorter start with shutter priority mode.
As you get comfortable with the process and experiment with the results you like best you can advance to full manual. 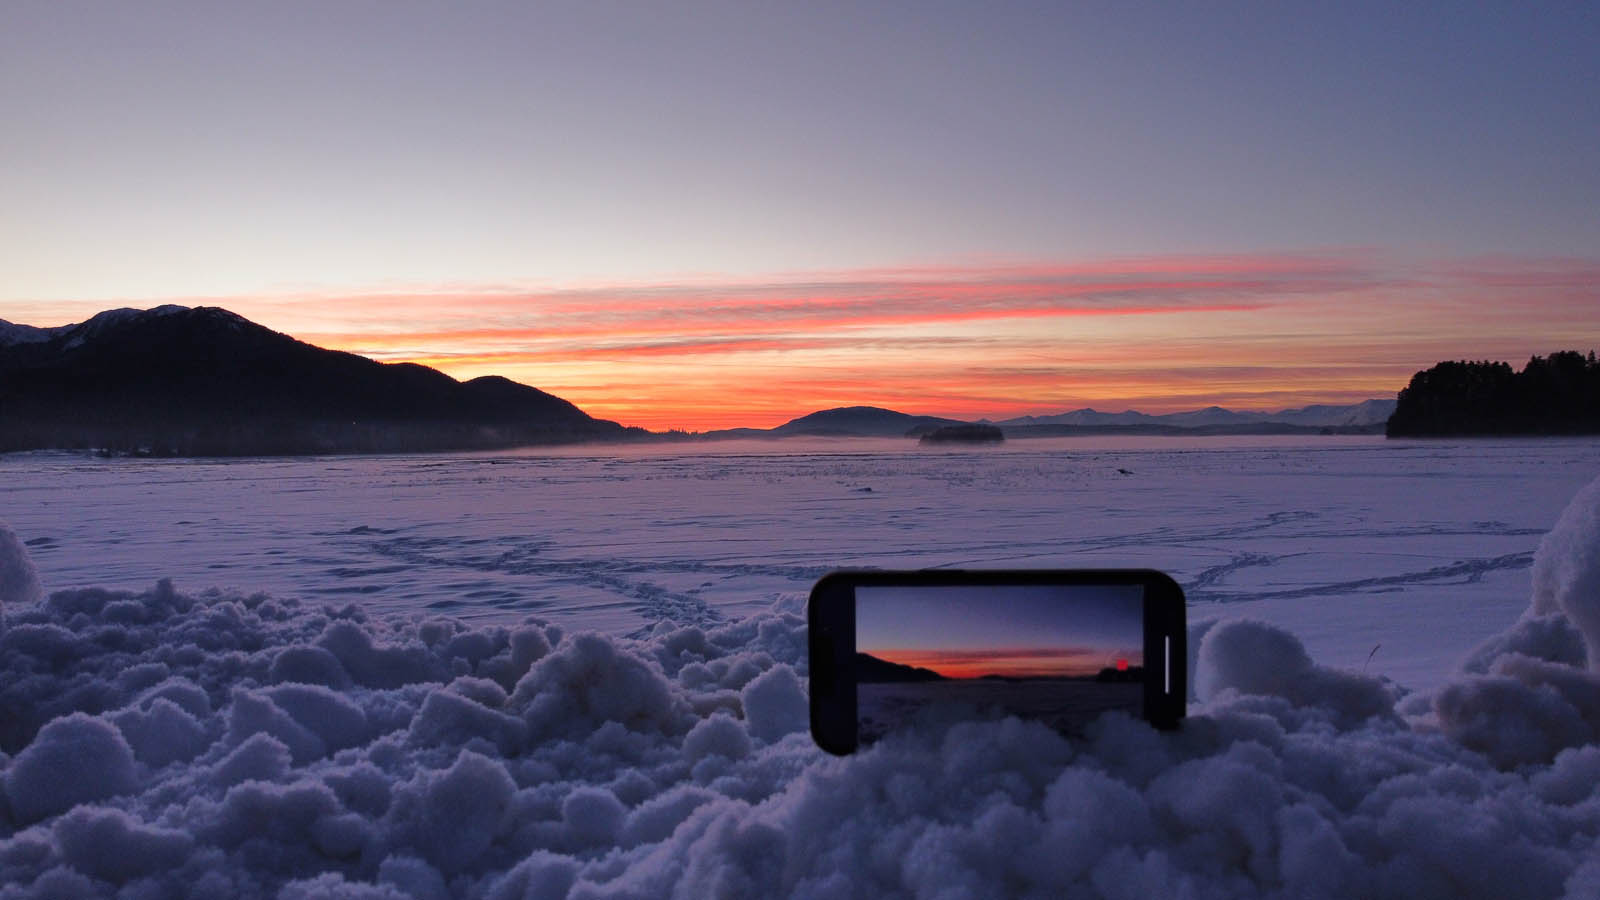
The main thing for smartphone shooters to know is to use the screen to select a focus and exposure before beginning the time lapse.
The two most important settings to remember to turn off is AUTO WHITE BALANCE and AUTO FOCUS.
For auto-white balance. I recommend cloudy. You can always change the white balance in post. But the key here is if we leave it in auto, EVERY SINGLE PHOTO will have a different white balance and create unwanted color changes.
The reason we want to turn off autofocus is that the camera will hunt for things to focus on between each shot. Since we’re shooting a scene that changes, our focus may change.

We want to avoid our camera settings changing so turn off autofocus.
The last technique we can do is a photography technique referred to as “dragging the shutter” or taking a long exposure.
By taking a longer photo, we essentially “blend” the individual photos a bit better. Resulting in a more pleasing photo.
For shooting a sunset time lapse this is tricky because our light will get darker and darker requiring our camera to take a longer photo each time or adjust the ISO or aperture.
If our shutter speed ends up being 5 seconds long, but our interval is only 4 seconds. The camera won’t take an image and skip the interval.
In this situation is why we might want to use Shutter Priority or TV mode. Choosing a shutter speed that can take and write an image before the next interval.
The main goal is to get motion blur. So try to get at least is to get at least half a second of exposure.
The BEST INTERVAL FOR A SUNSET TIME LAPSE?
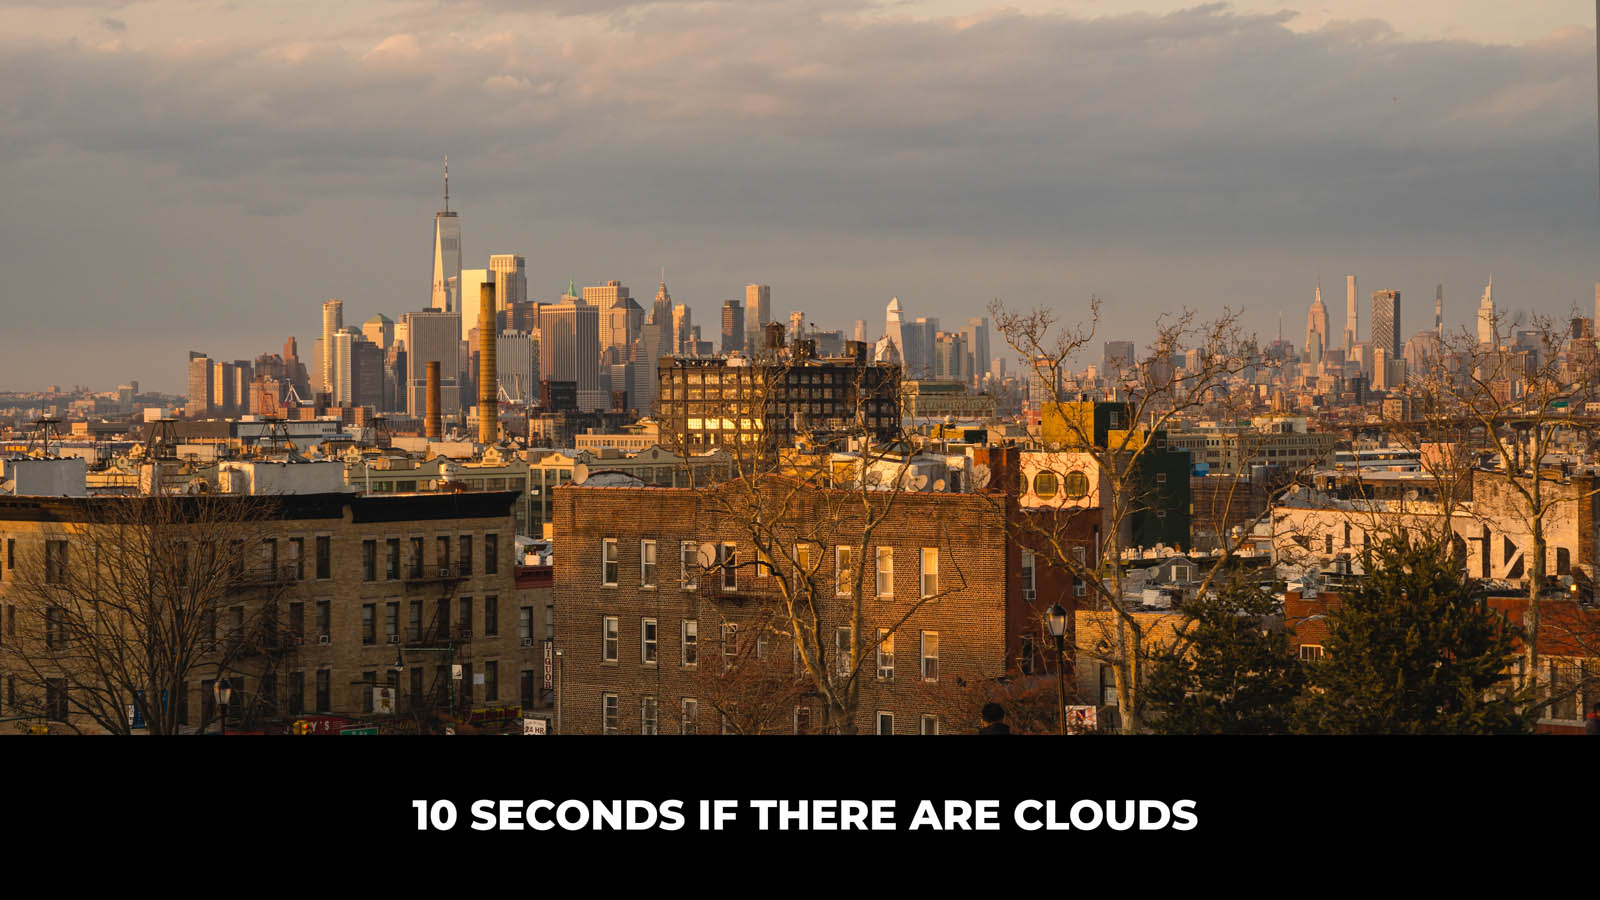
Choosing an interval for a sunset time lapse is going to require experimenting and practice.
It’s because the best time-lapse interval for sunset will depend on what you are trying to show and how interesting the sky is.
If you are after just seeing the sun race towards the horizon line then you can definitely choose a 10-second interval.
If you are more after the colors changing during the sunset and hoping to choose the most interesting section of that scene. Two seconds would be my recommendation because the colors are only vivid for about 15 minutes.

If you are trying to do both at once then also recommend two seconds.
This way you can speed up one version of the edit to show the movement of the sun, but also have one clip that is showing the beautiful colors in the sky.
How long should a Sunset Time lapse Be?
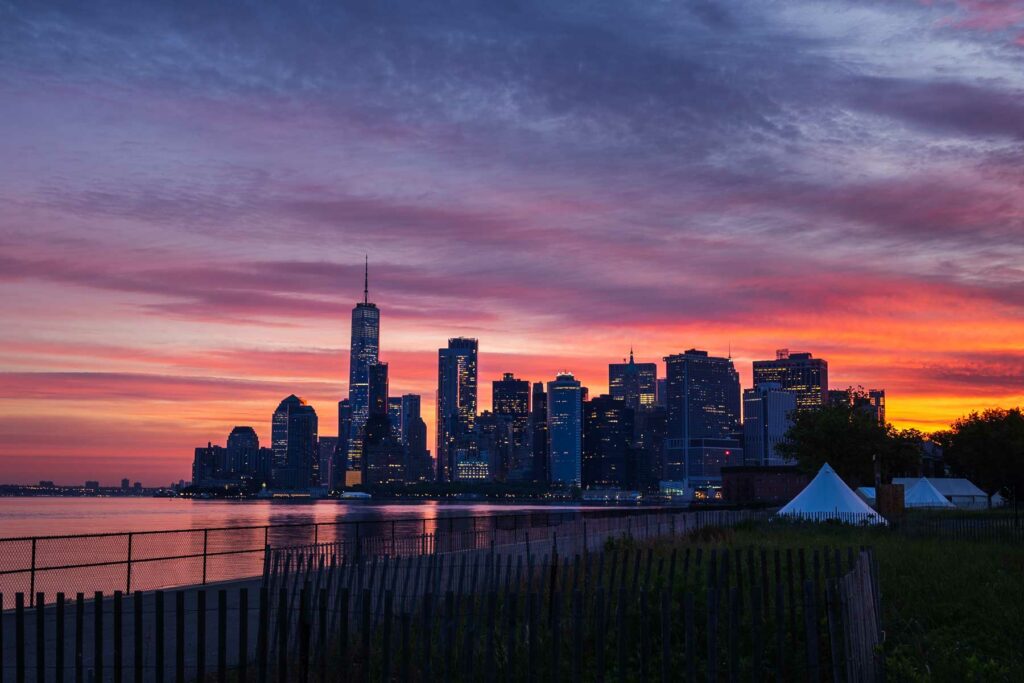
I recommend your final sunset time lapse be no more than 10 seconds. However, I don’t recommend only taking 240 photos.
I recommend you start with an interval of 2-4 seconds when shooting a sunset timelapse because this way you will have more footage of the time when the sky is the most colorful and dramatic.
If you want to show an entire scene of a sun setting. You will want to show up at least an hour before and after the sunset.
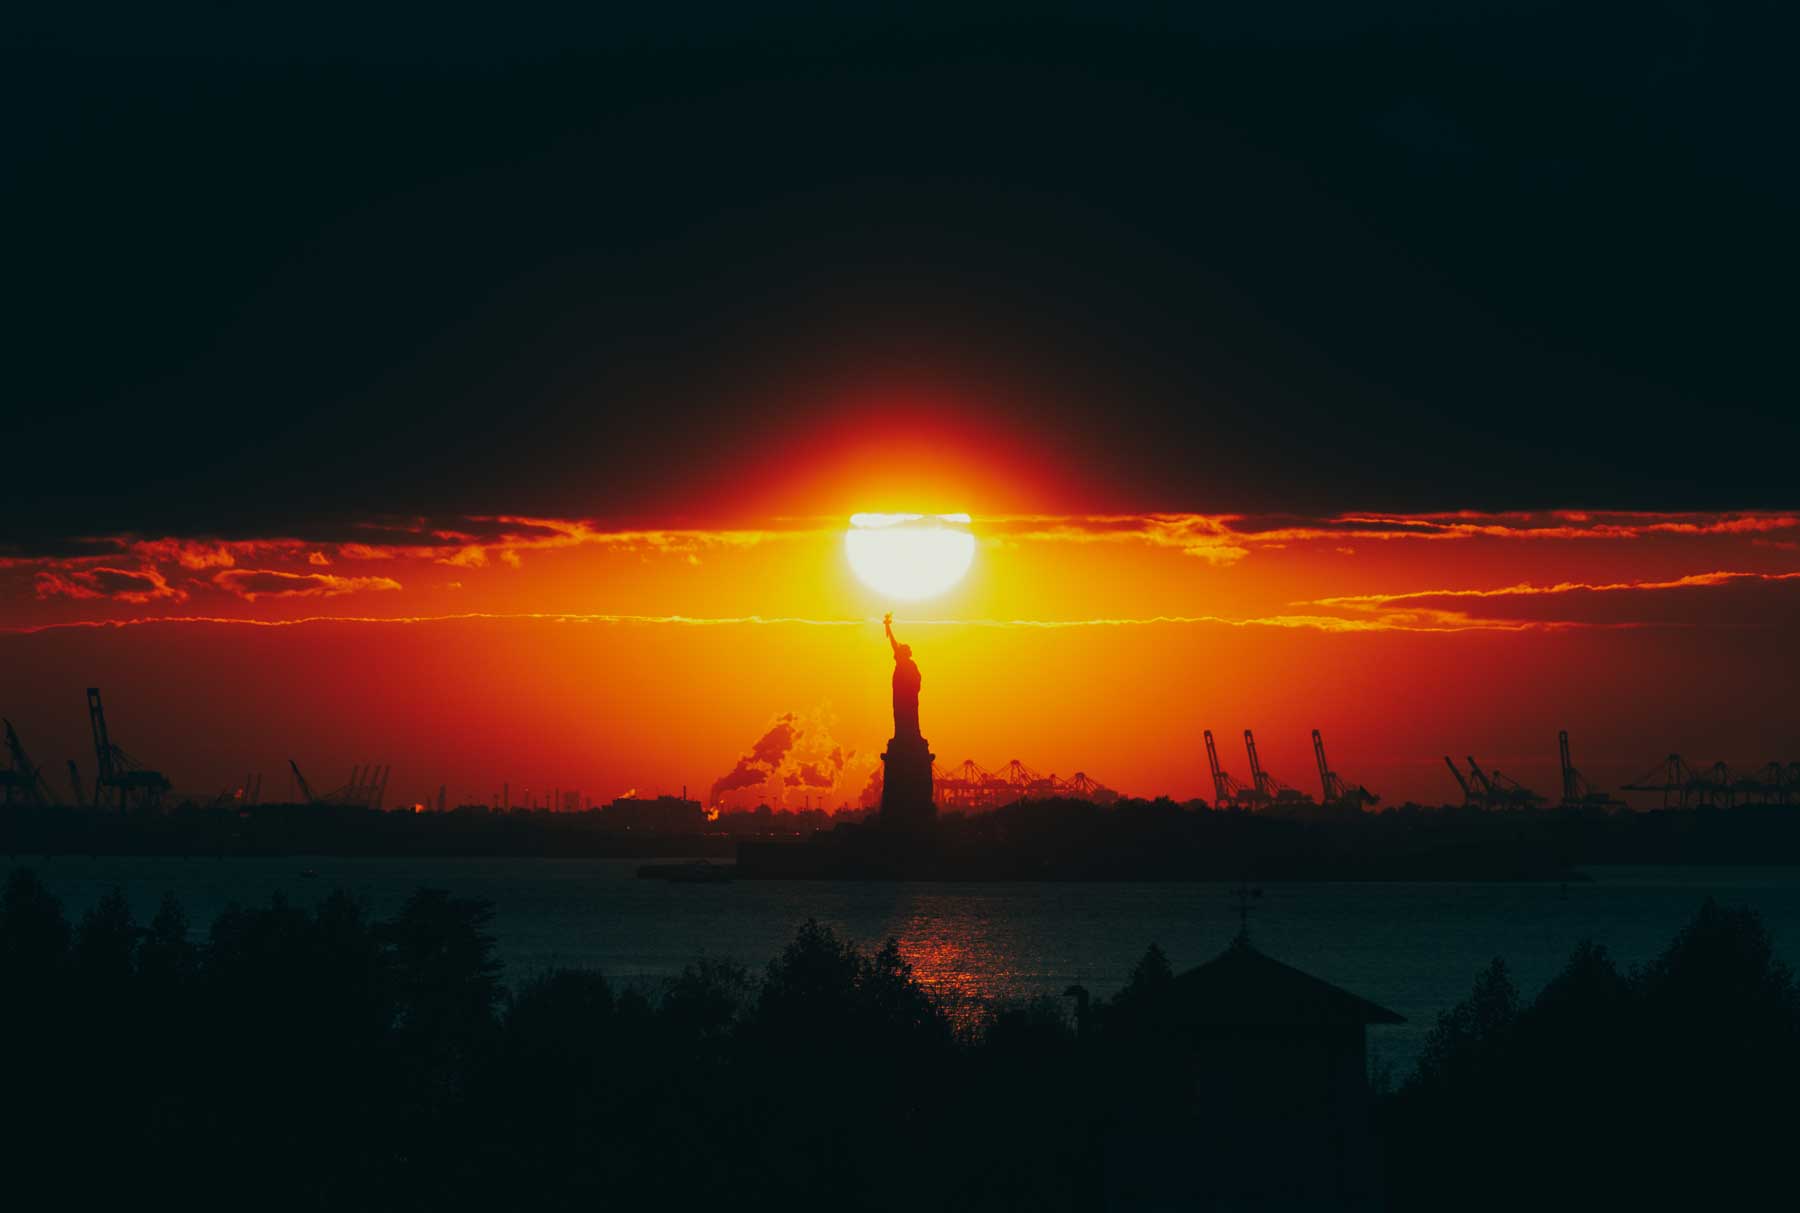
This is why it’s so important to know what time is sundown. If you don’t know that, how will you know when to arrive?
Since that is two full hours minimum, if you take a photo every 2-4 seconds you will have over 1800 photos. Resulting in a 75-second time lapse if going with a 24 fps framerate.
This means you will need to either speed up your timelapse to just 10 seconds. This is perfect if you want to show the sun’s movement only.
It’s even better if you want to find the best 10-second bit of the video and display that.
As you advance you can do an editing technique called time remapping to speed up and slow down the more boring and interesting parts.
Six Mistakes to Avoid Shooting a Time lapse?
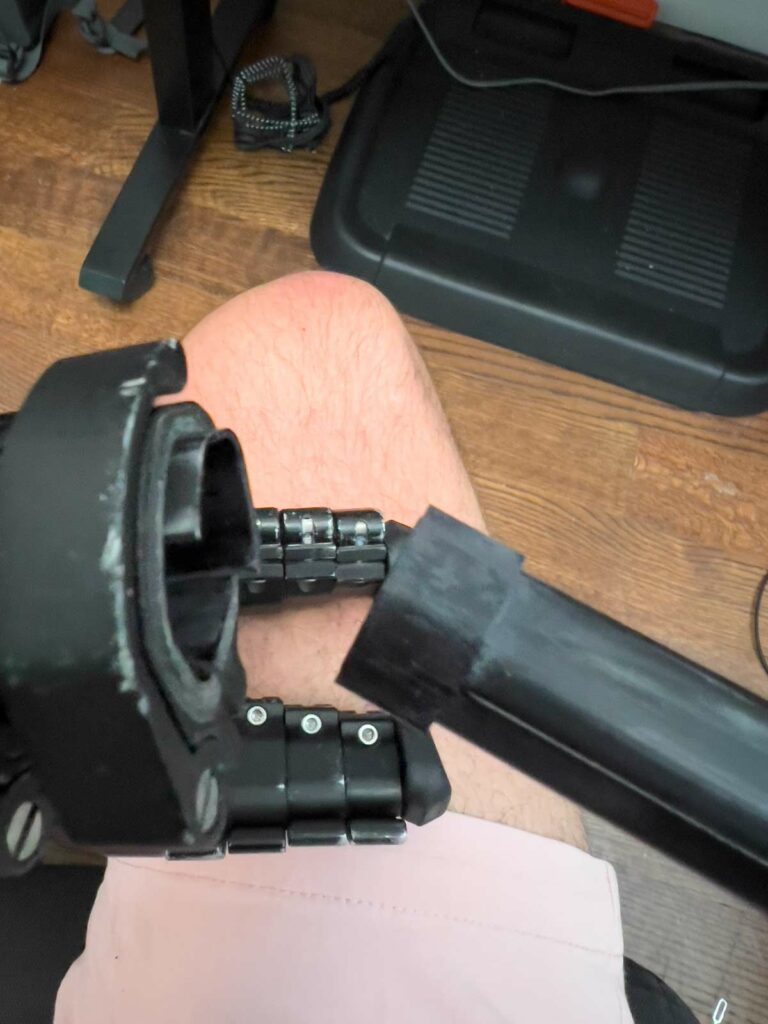
Here are the most common mistakes made when shooting a sunset time lapse.
The first mistake I made was using an ND filter, realizing it was getting too dark, and try to take it off.
This would result in me bumping the tripod, changing the focal length and focus, and just kind of ruining the shot.
Since it will get so dark, the shutter speed will eventually get so slow that it might ruin your interval.
So don’t use ND filters. You won’t need them.
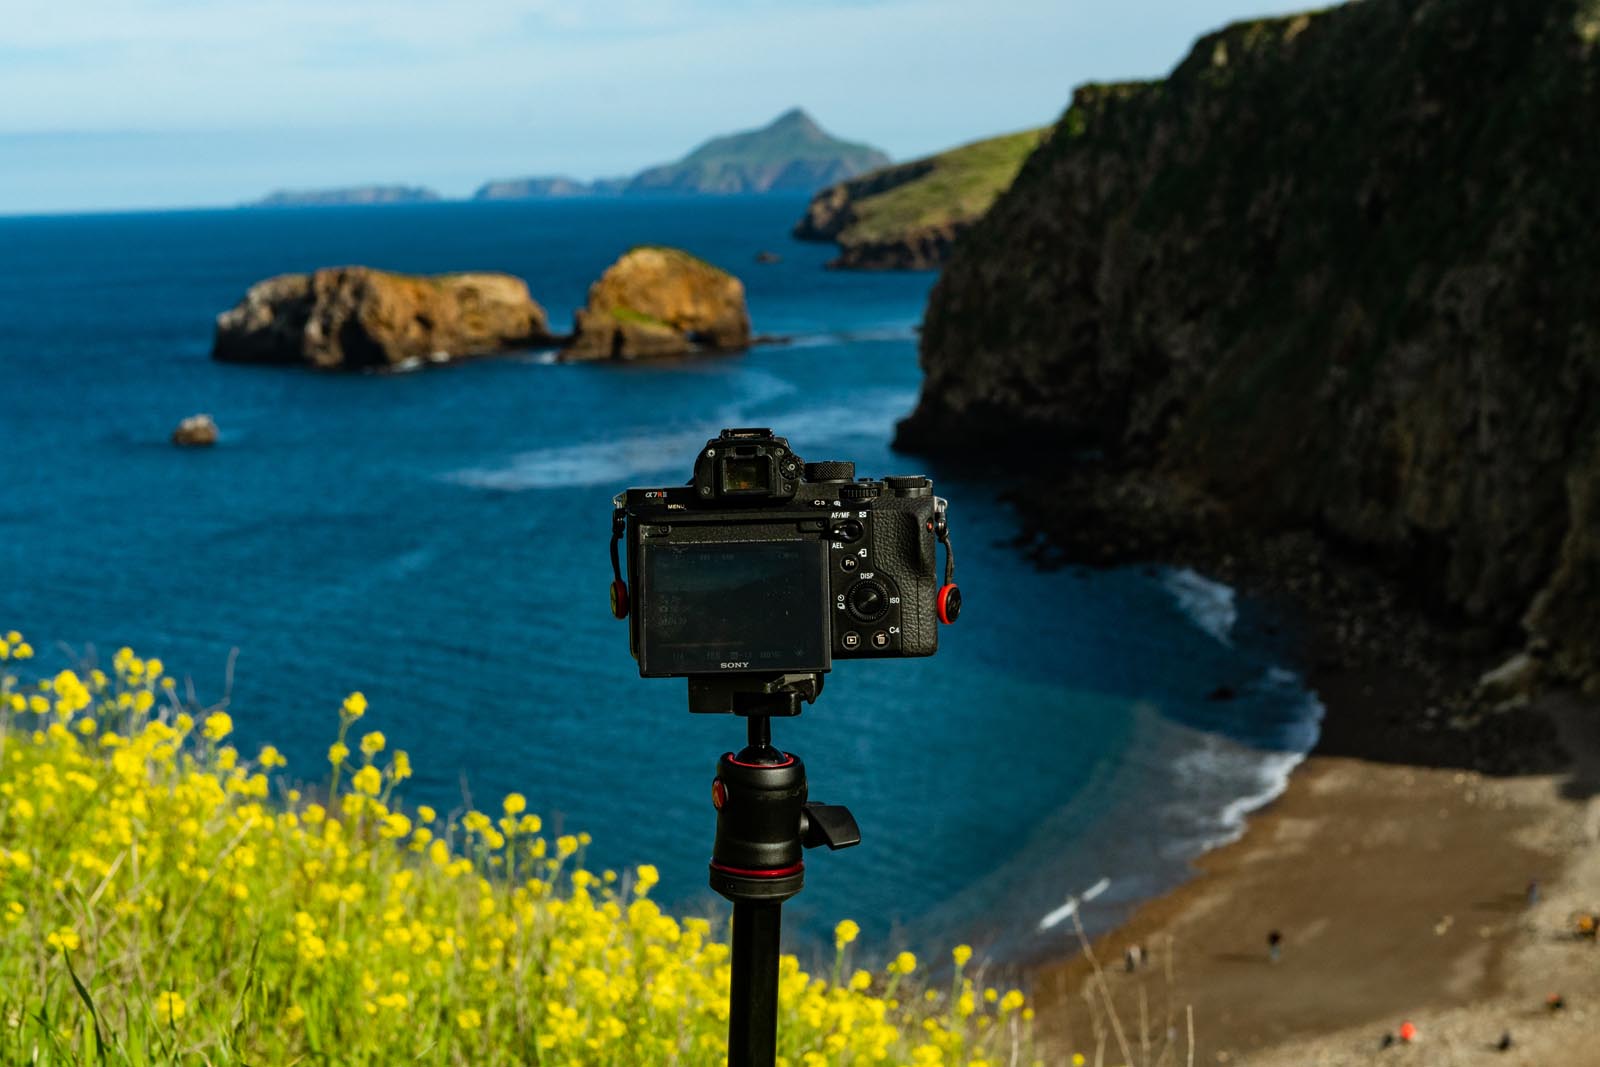
Second, most people arrive way too late. If you want to see the sun setting in your scene, you will need at a bare minimum one hour before the sunset.
So be sure to arrive early.
Third, a lot of mistakes I’ve seen are people forgetting to charge their batteries and making sure they have enough storage. 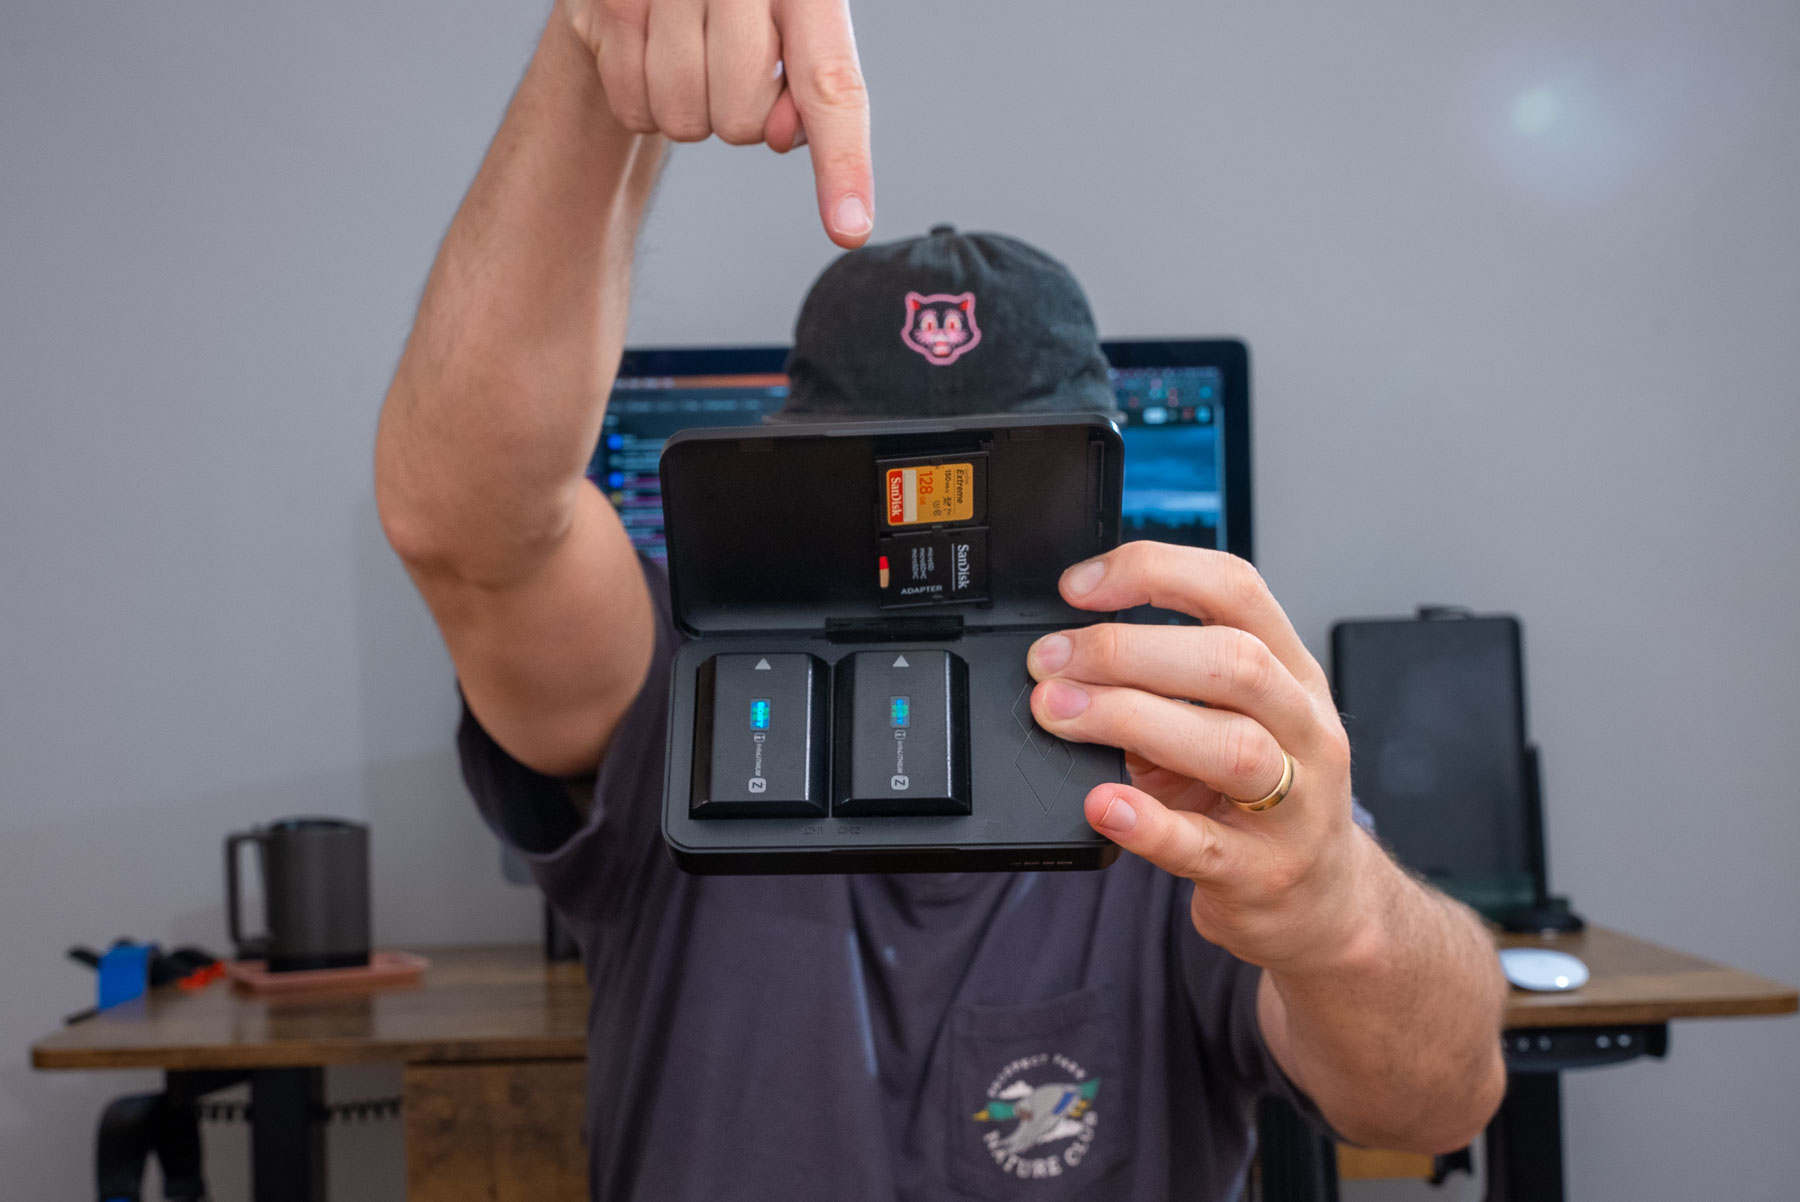
For smartphone users make sure you have a decent amount of storage or backed up to the cloud. As well as having your phone charged or a battery pack.
For DSLR users it’s forgetting to charge extra batteries and having an SD card that will fit all the photos you are trying to take!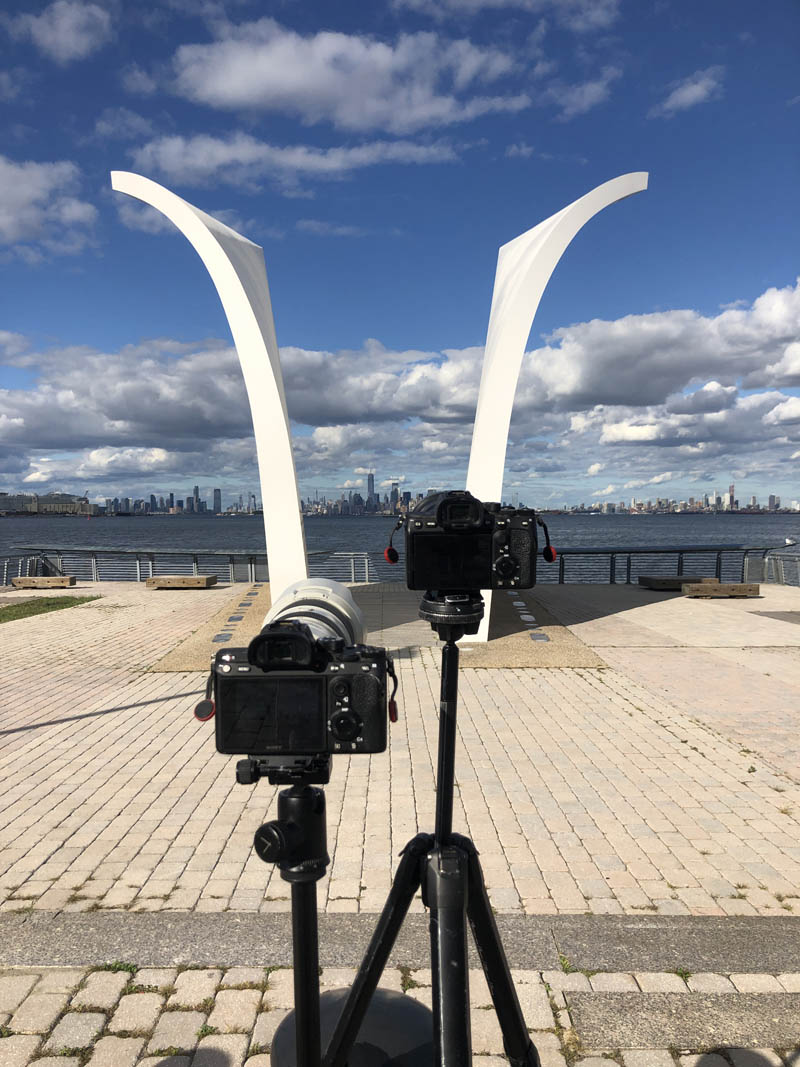
Fourth, is checking your camera too often and kicking your tripod. Sounds silly, but it is so easy to do. Luckily there are ways to fix it if this does happen but it is not perfect and definitely not ideal.
Fifth, is not having a flashlight. Depending on where you are you may be breaking down everything at night.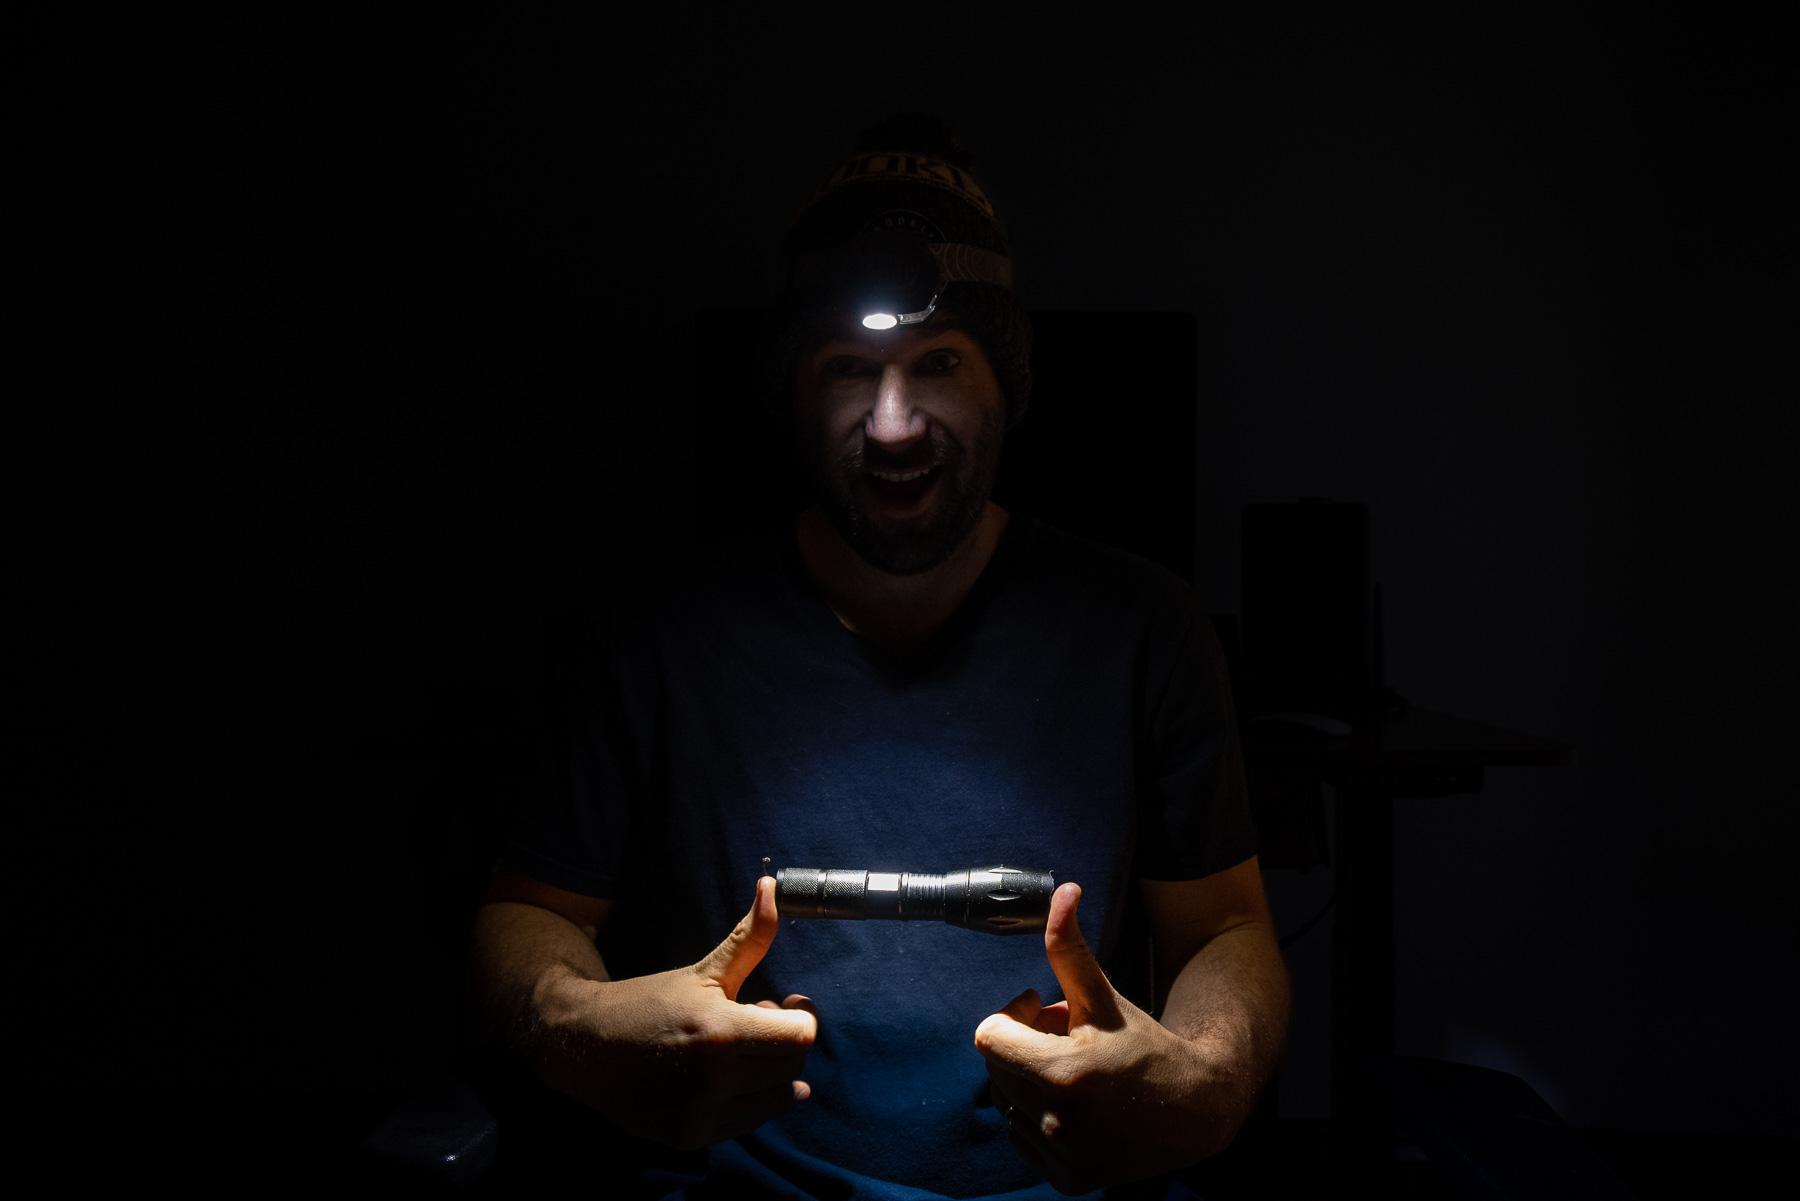
Without a flashlight that can be a real challenge and you may accidentally lose a piece of gear on the location and that would really suck to lose an expensive item because of not having a $20 flashlight you bought on Amazon..
The sixth and final mistake I see is not having water or snacks and getting hungry and having to abandon the shot.
Best Apps for Planning
If you want to level up your time lapse and hyperlapse game so you can charge more money and save hours of headaches and frustration. I have made a course for you that over 400 students have enrolled in!
I’m confident Hyperflow Masterclass will get you from zero to shooting like a pro or I’ll give you your money back!
Check out the course here to see if it’s right for you.
Another one I absolutely love is PhotoPills. It’s only a smartphone app and costs 10$ and is very similar to TPE. I love it and recommend it especially for planning the moon and stars.
Like TPE it will also help you with questions like the time of sunset, what time is dusk and how long is sunset. All useful info to help you plan your shot and composition.
Lastly, I love using Google Maps to plan where to shoot from as well as how to get to a location. Very helpful to make sure I get there on time for the sunset time lapse.
How Long Should You Be Shooting?
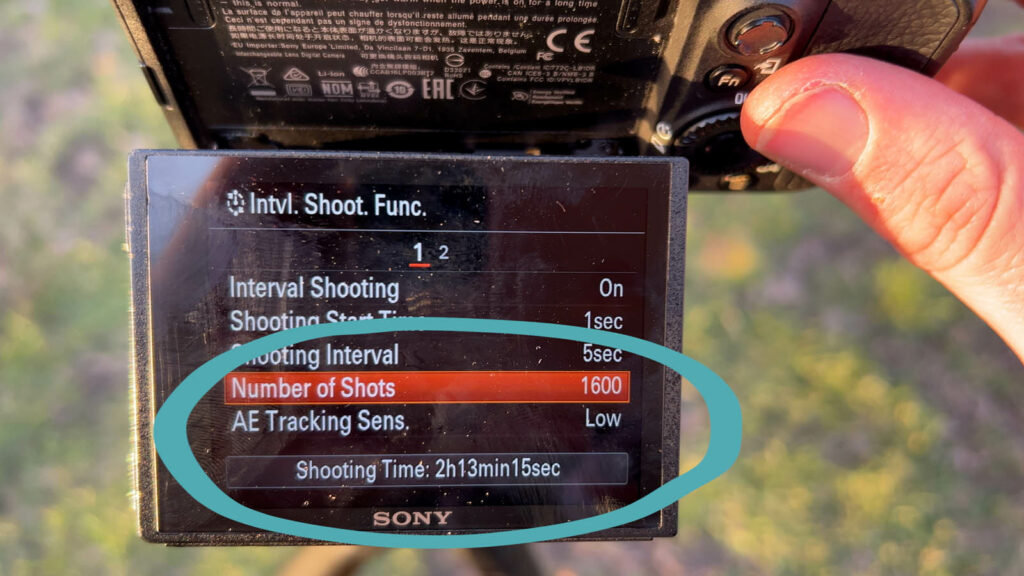
It’s worth mentioning again, you should arrive at LEAST an hour before if your goal is to see the sun moving across the scene.
The colors often get more saturated as you enter dusk which is why I recommend staying an additional hour PAST the time of sunset.
Best Way To Edit Your Time Lapse

The best way to edit a sunset time lapse is to use a professional workflow like Lightroom and LRTimelapse. This is free up to 400 photos and I have a tutorial on edit a time lapse here.
Best Places to Share When It’s Done!
View this post on Instagram
I love sharing my time-lapses on social media. I do it pretty regularly on instagram and tiktok. There is also a pretty active Facebook Group and subreddit dedicated to time lapses that would be a great place to share.
Backing up your Finished Projects
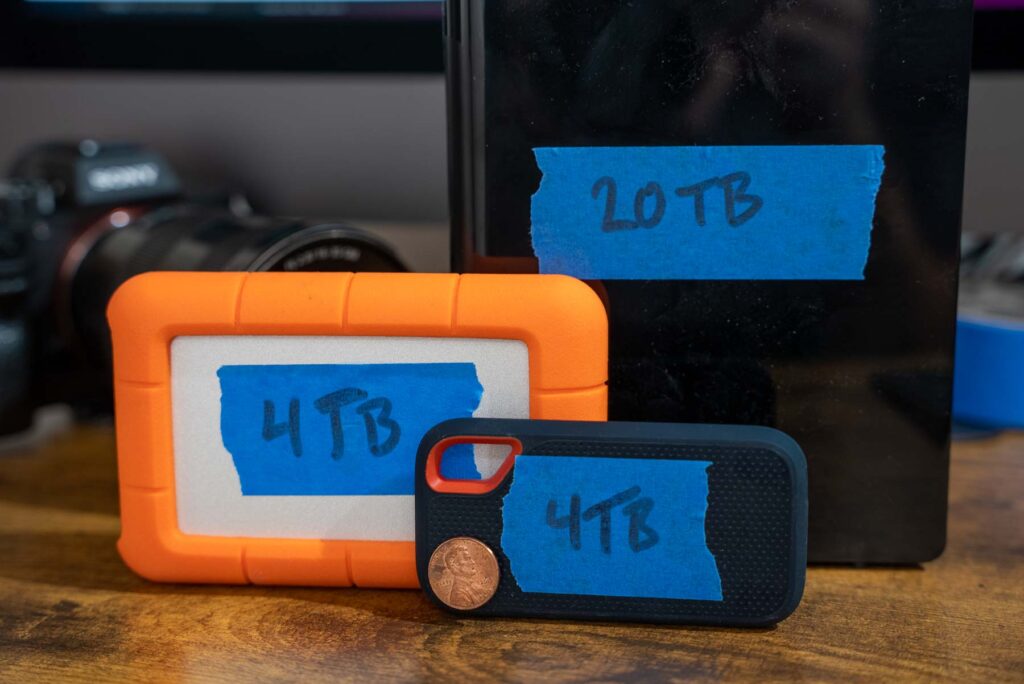
The last thing I strongly recommend getting into the habit of no matter what type of timelapse you shoot is back it up
There are so many ways to do it, whether that be the cloud, dropbox, or even putting a folder on your hard drive called Edited Time lapses and making a habit of putting your finished projects there.
Frequently Asked Questions about Shooting a Sunset Time Lapse (FAQ)
Here are the most common questions people have about how to shoot a sunset time lapse.
This will always depend on how much you want to see the sun travel. But AT LEAST ONE HOUR BEFORE the sun sets.
You can shoot a timelapse sunset with your smartphone by entering it into time lapse mode or with your DSLR by taking photos of the sunset and editing them into a time lapse video.
You can record a sunset time lapse with your smartphone by entering it in time lapse mode or recording a couple hundred photos with your DSLR and editing it into a time lapse video.
You should film a sunset time lapse for at least one hour before and after sunset if you want to see the full changes.
A sunset time lapse in my opinion shouldn’t be more than 10 seconds because after that it will be pretty boring.
For iPhones, a two-hour timelapse would result in a 20-minute timelapse because the iPhone records at 6x.
Choosing the frames per second will depend on where you live. In Europe or PAL settings 25fps is good. For North America or countries where NTSC is used 24fps is good.
The simplest way is with after effects and the most professional way is with lightroom and LRTimelapse.
To find sunset time, use an app like TPE or PhotoPills to figure out the precise time of sunset, as well as other helpful times like what time is dusk.
The main difference will be image quality and look and feel. Unless you are shooting with a RED or a video camera that can shoot RAW video, a photo camera will look much better.
Speeding up footage makes things seem unplanned and movements are more unnatural and jittery.
Your location to the equator, time of year, and daylight savings times all affect the sunset time.
The best sunset timelapse settings are a 2-second interval, white balance set to cloudy, in shutter speed priority mode with a 1-second shutter. Use auto ISO if possible.
The best sunset timelapse interval is two seconds because you can always speed things up, but you can’t slow things down. This will give you two videos.
One where you focus on the movement of the sun. Another is where you focus on the colors.
Sunset timelapse settings on GoPro
Best sunset time lapse for iPhone Settings
Best sunset time-lapse for Android.
Where can I find music for sunset time lapse?
GoPro Hero 10 sunset time lapse settings
What are some good sunset timelapse hashtags

